Start Here
New to airplanes? Handbooks and checklists
The Pilot's Operating Handbook (POH) or aircraft manual is the aircraft-specific source for approved procedures, operating limits, and required system information. Use the manual assigned to the exact aircraft you are flying.
A checklist condenses those procedures for cockpit use but does not replace the manual. Placards show limitations or instructions where they are needed in the aircraft. Engine manuals provide supporting engine information, but the aircraft handbook and checklist control normal flight operation.
This module covers commonly missed engine procedures.
Incorrect mixture, throttle, carburetor heat, or ignition use can cause fouled plugs, overheating, severe damage, or engine failure.
Caution: Use the current aircraft instructionsAlways follow the current handbook, checklist, placards, and approved supplements for the aircraft you are flying.
Engine manuals:
Engine Controls
New to airplanes? The engine-control group
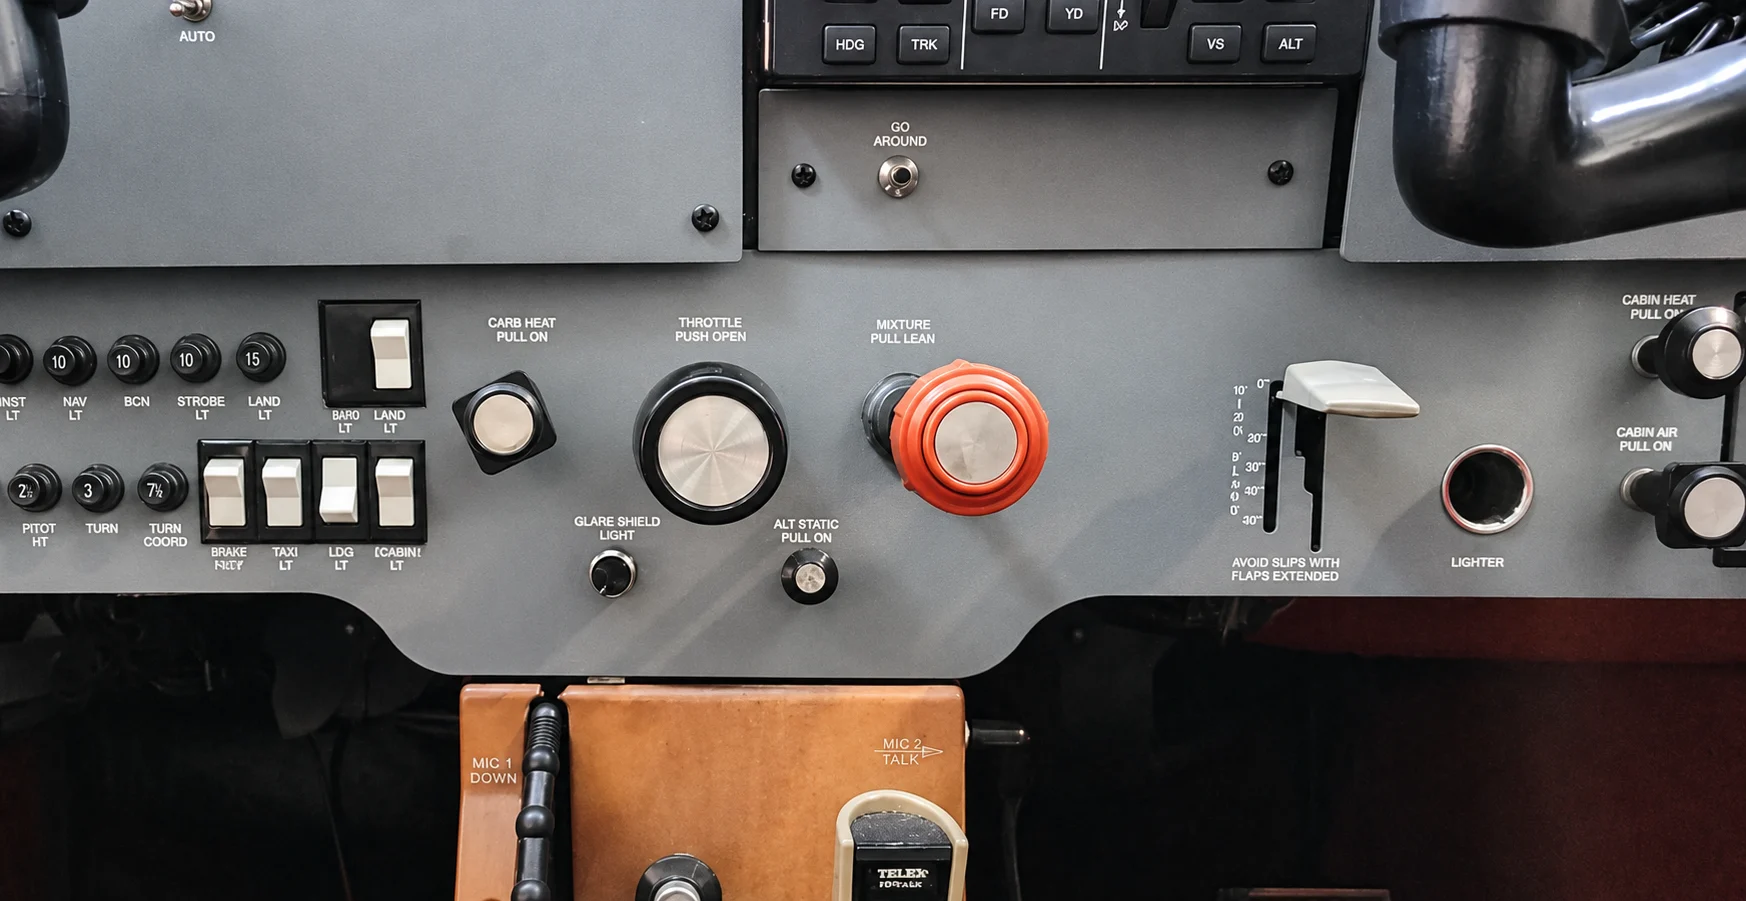
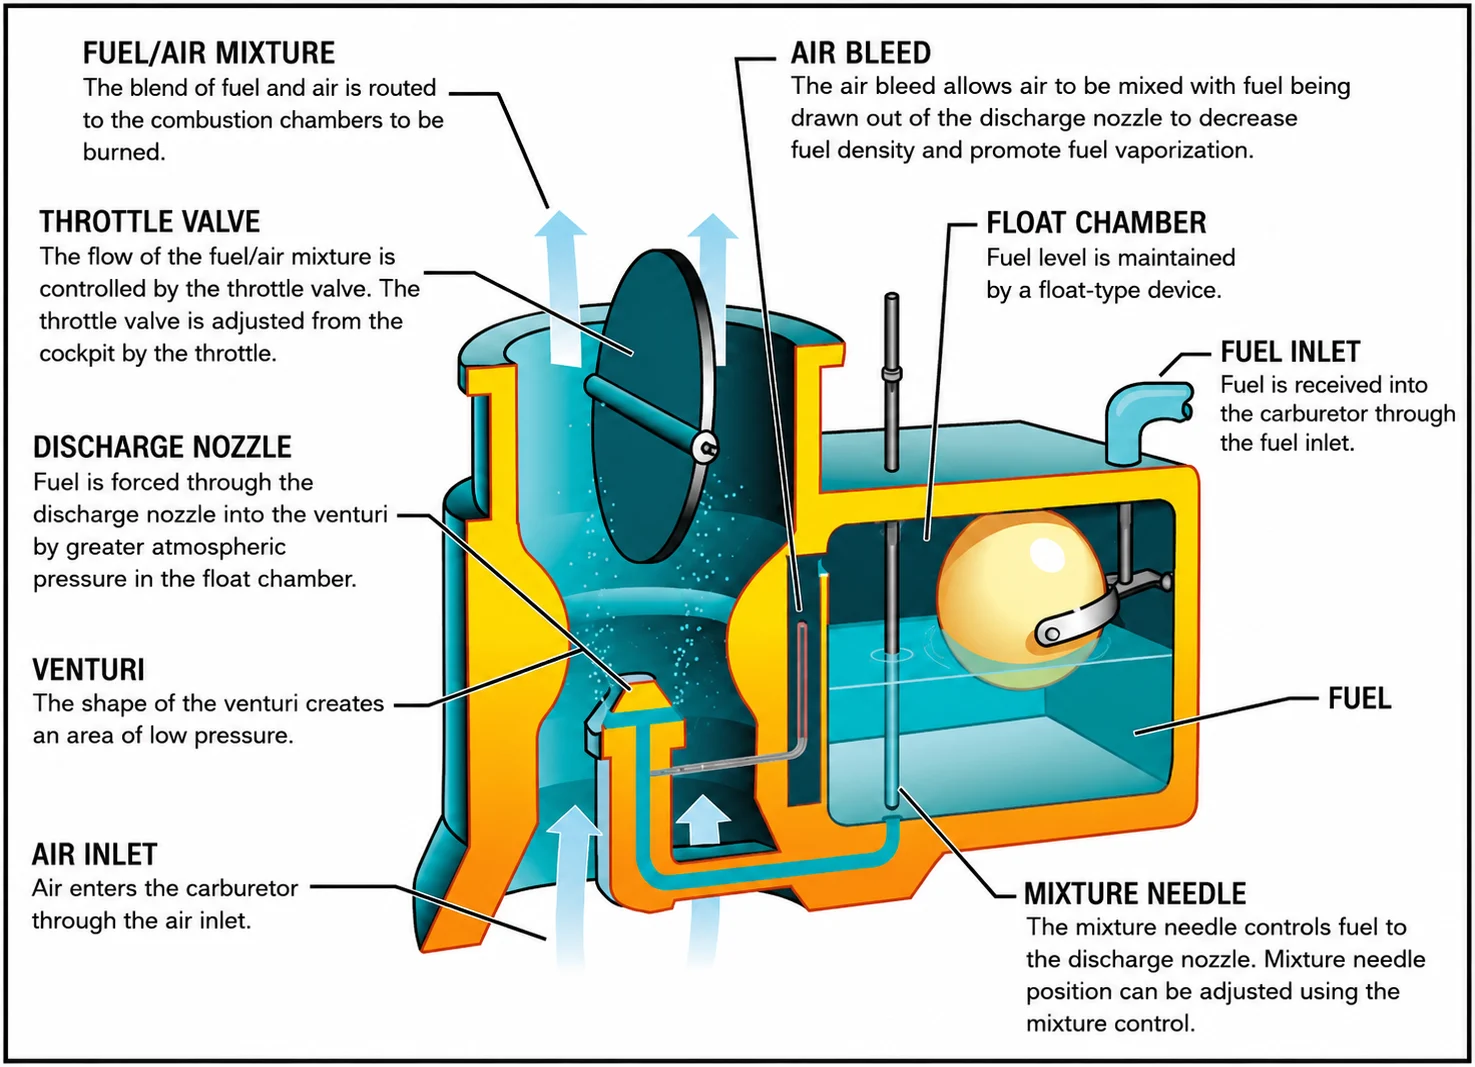
- Throttle meters airflow through the carburetor. Opening it increases engine power and RPM; closing it reduces them.
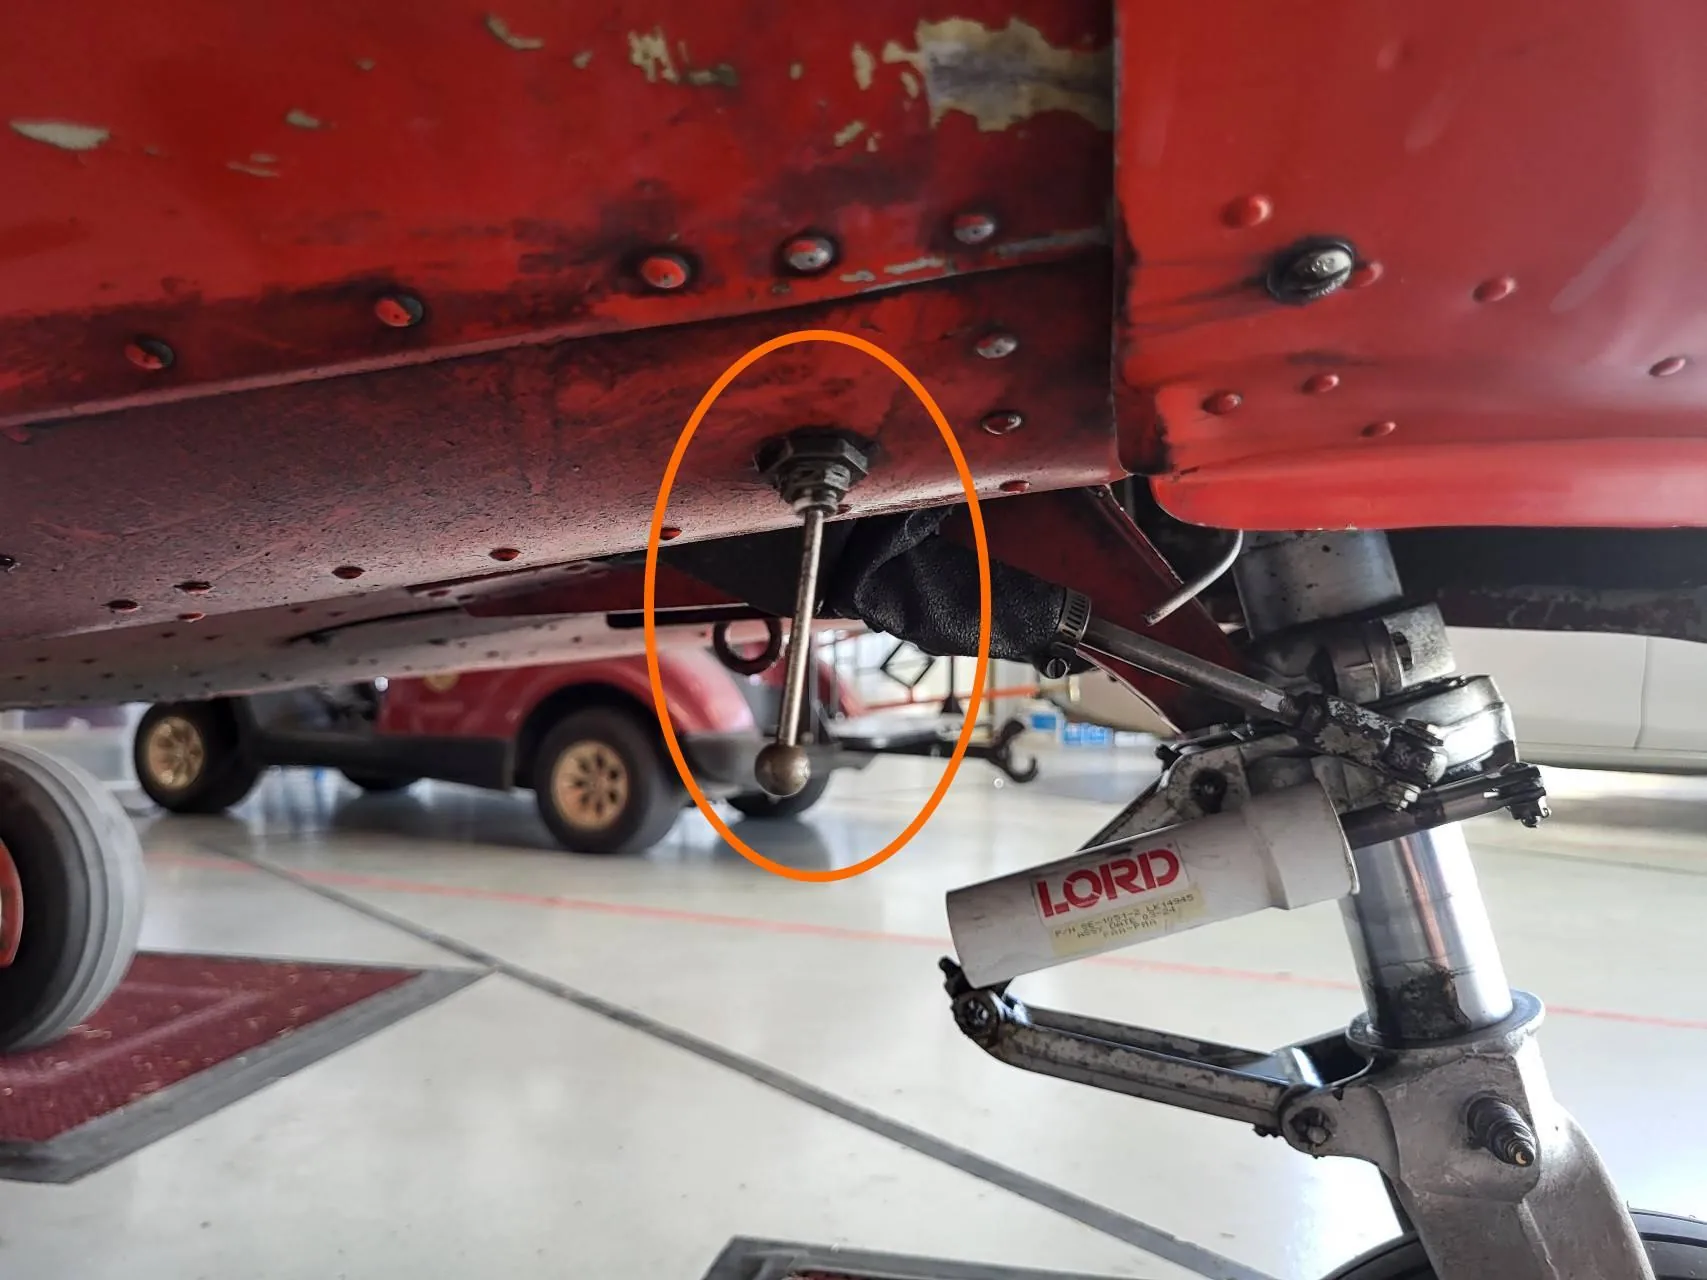
- Mixture changes how much fuel is supplied for the available air. It compensates for changing air density and shuts off fuel at idle cutoff.
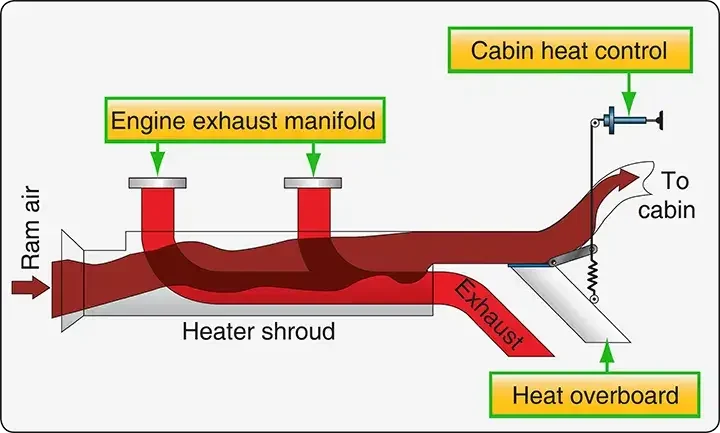
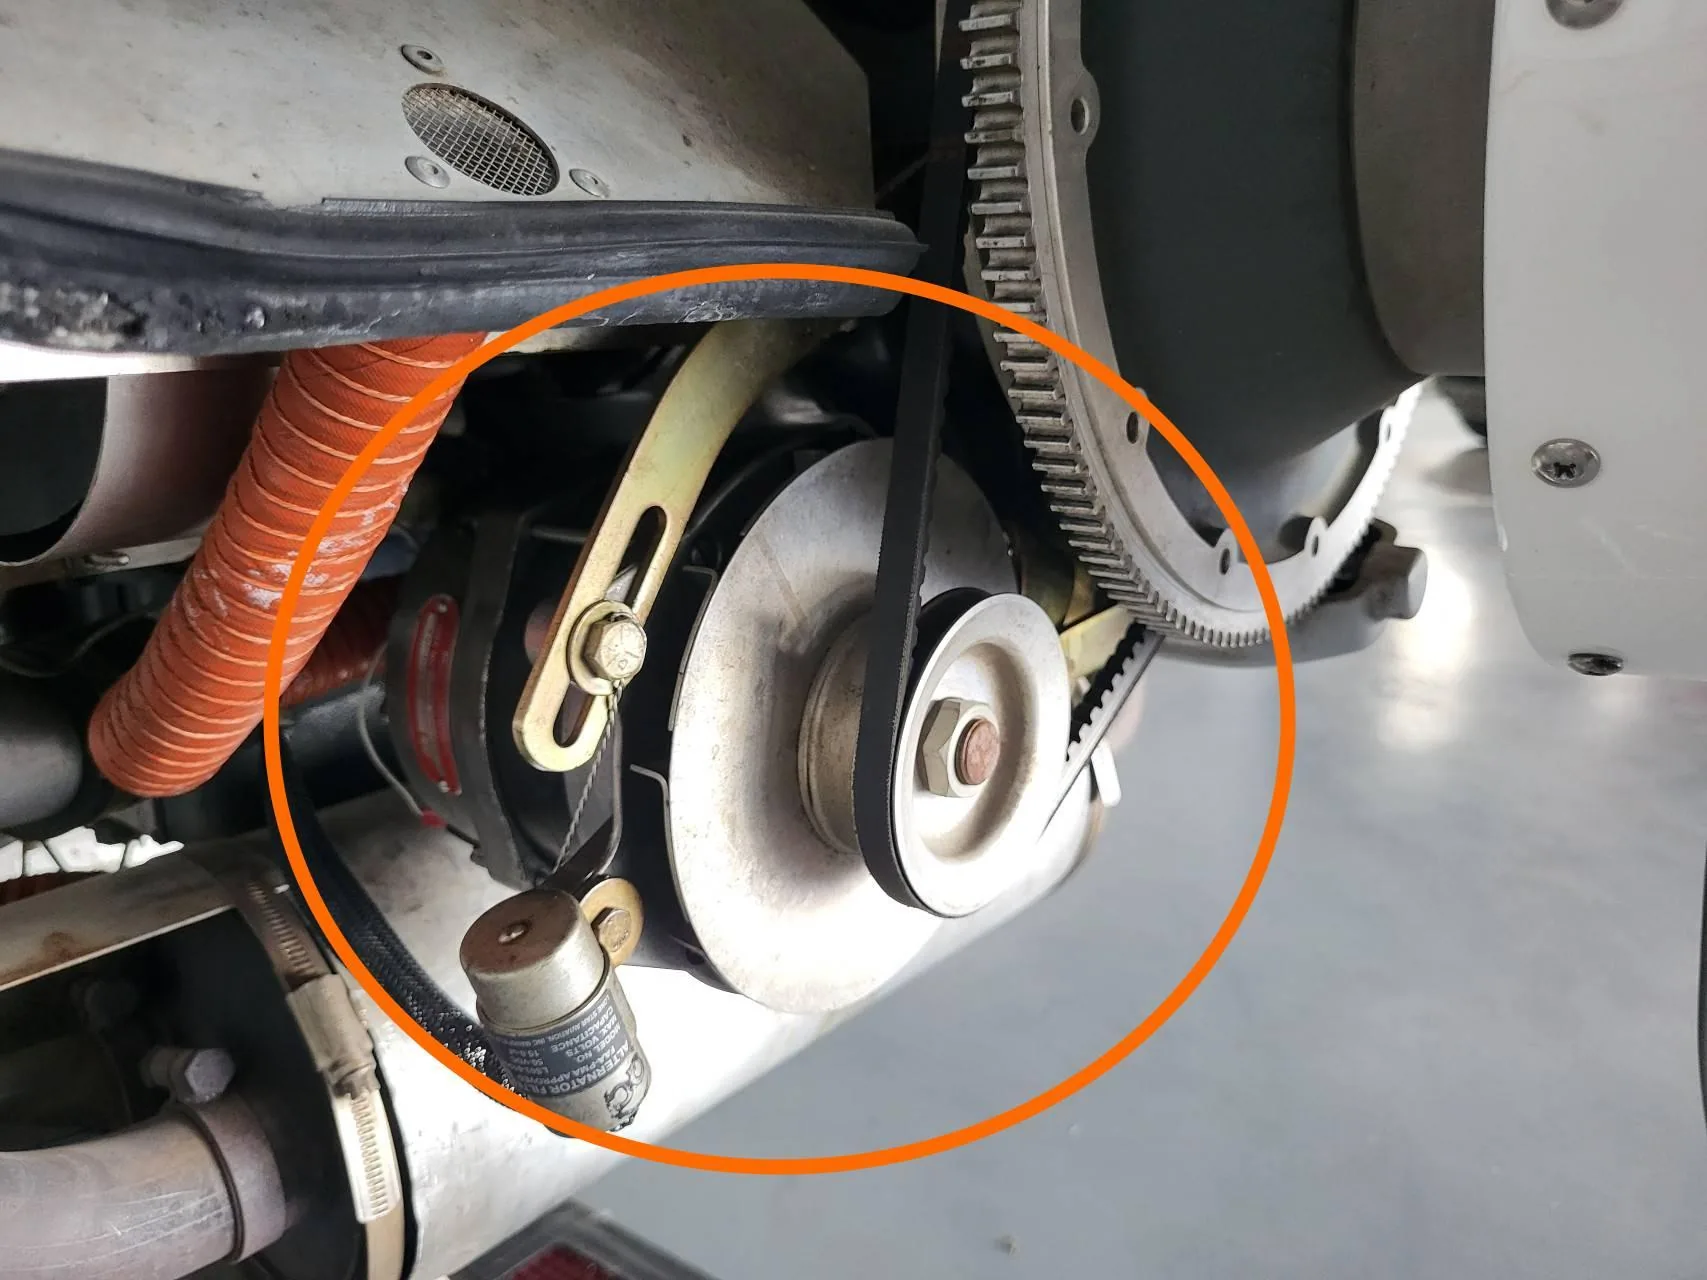
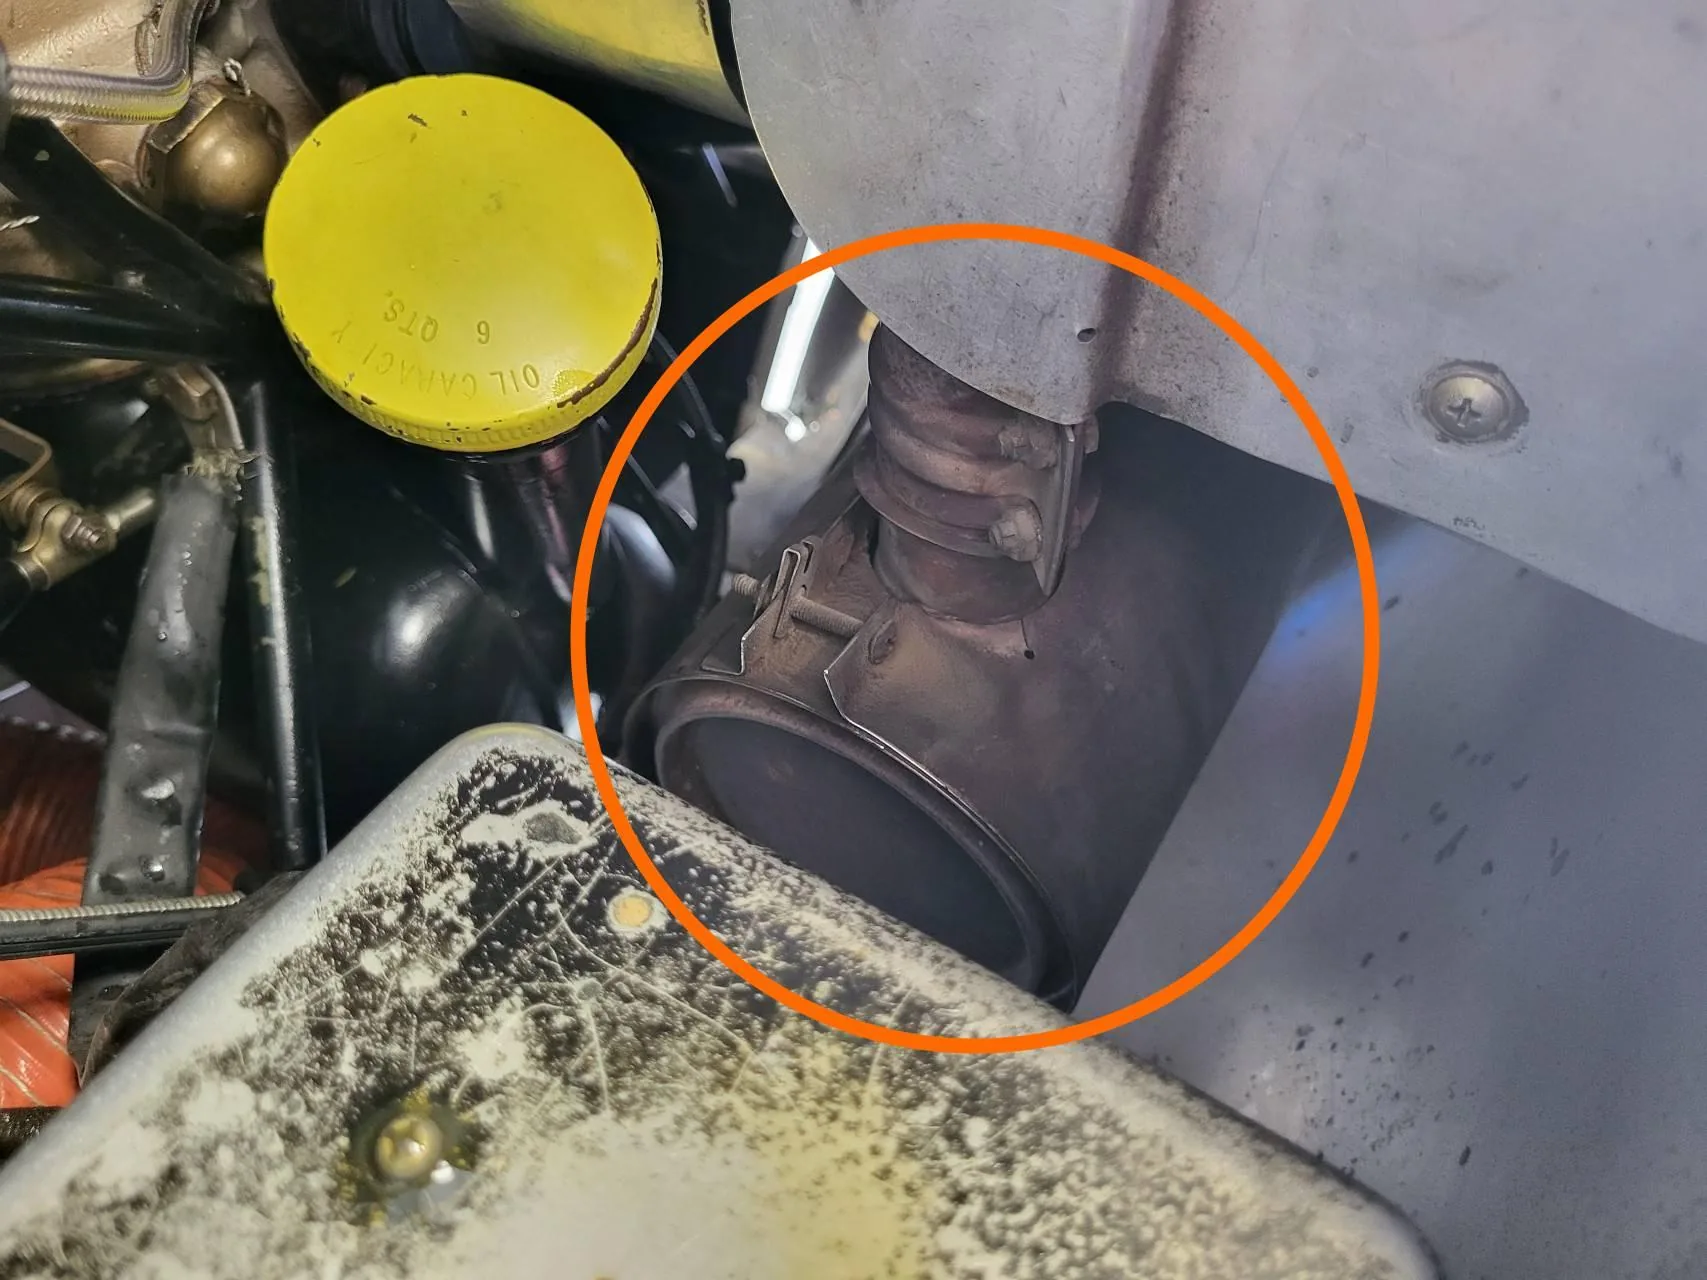
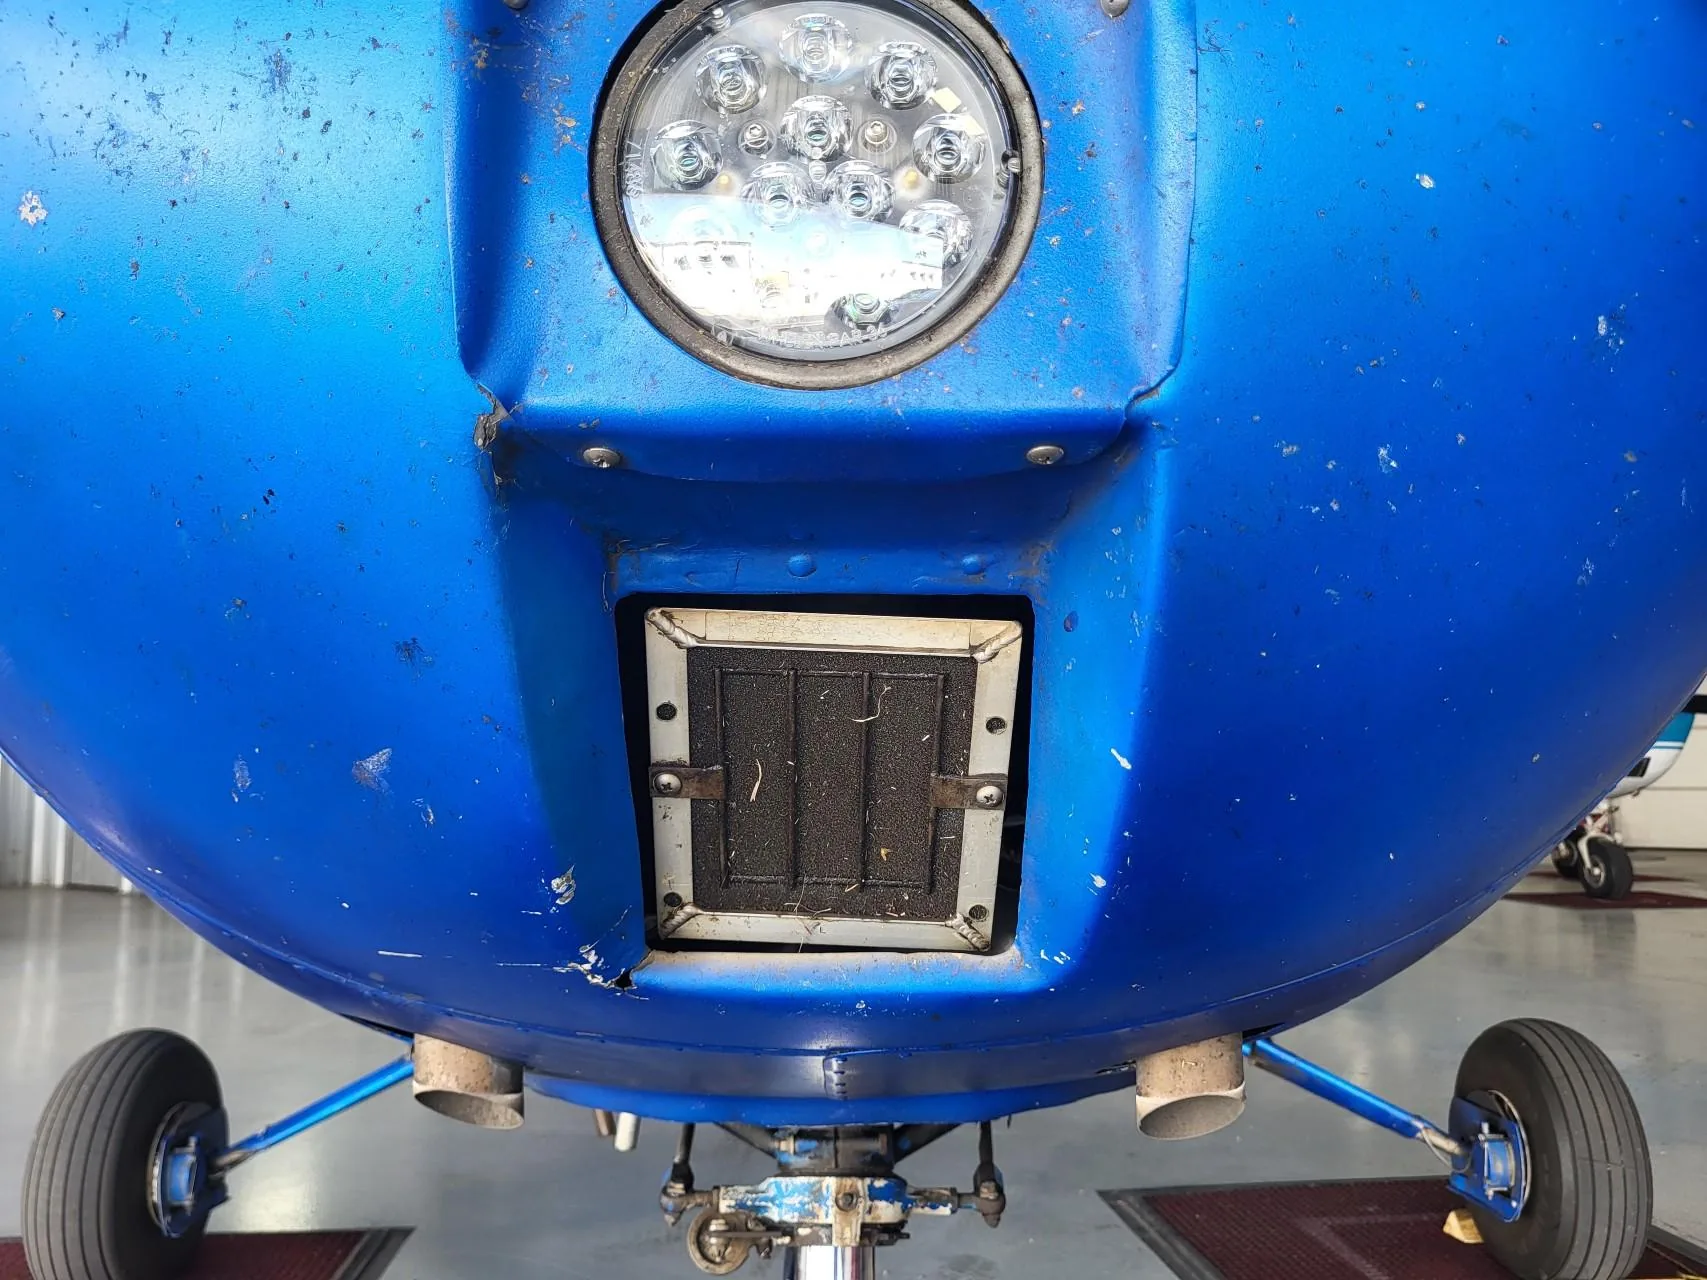
- Carburetor heat routes warm air from around the exhaust into the carburetor to prevent or melt ice. This warm air normally bypasses the intake filter and reduces power.
- Primer sends fuel directly into the intake to help a cold engine start. Too much can flood the engine.
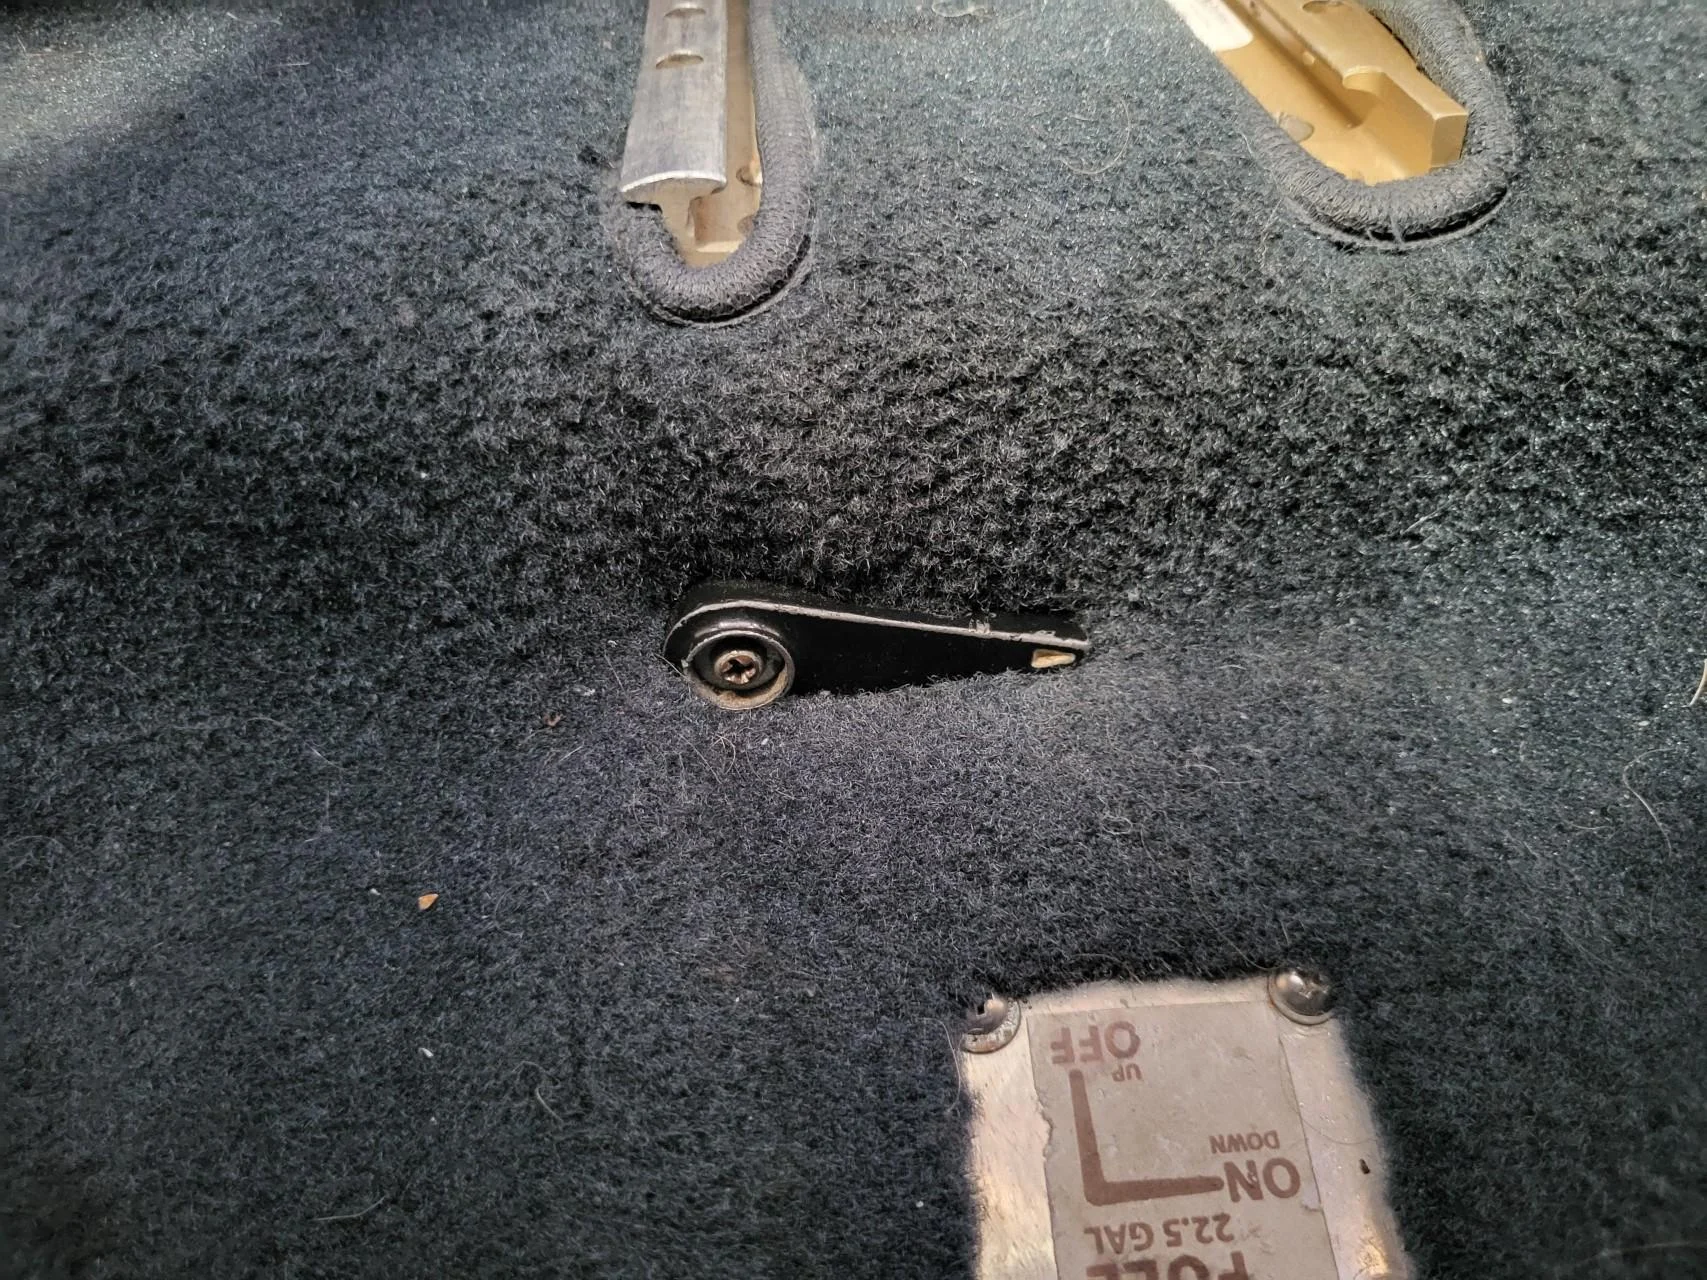
- Fuel valve opens or stops fuel flow and, where equipped, selects the supplying tank. An incorrect position can starve the engine of fuel.
- Magnetos create the electricity that fires the spark plugs. Two independent magnetos provide ignition redundancy without the aircraft battery.
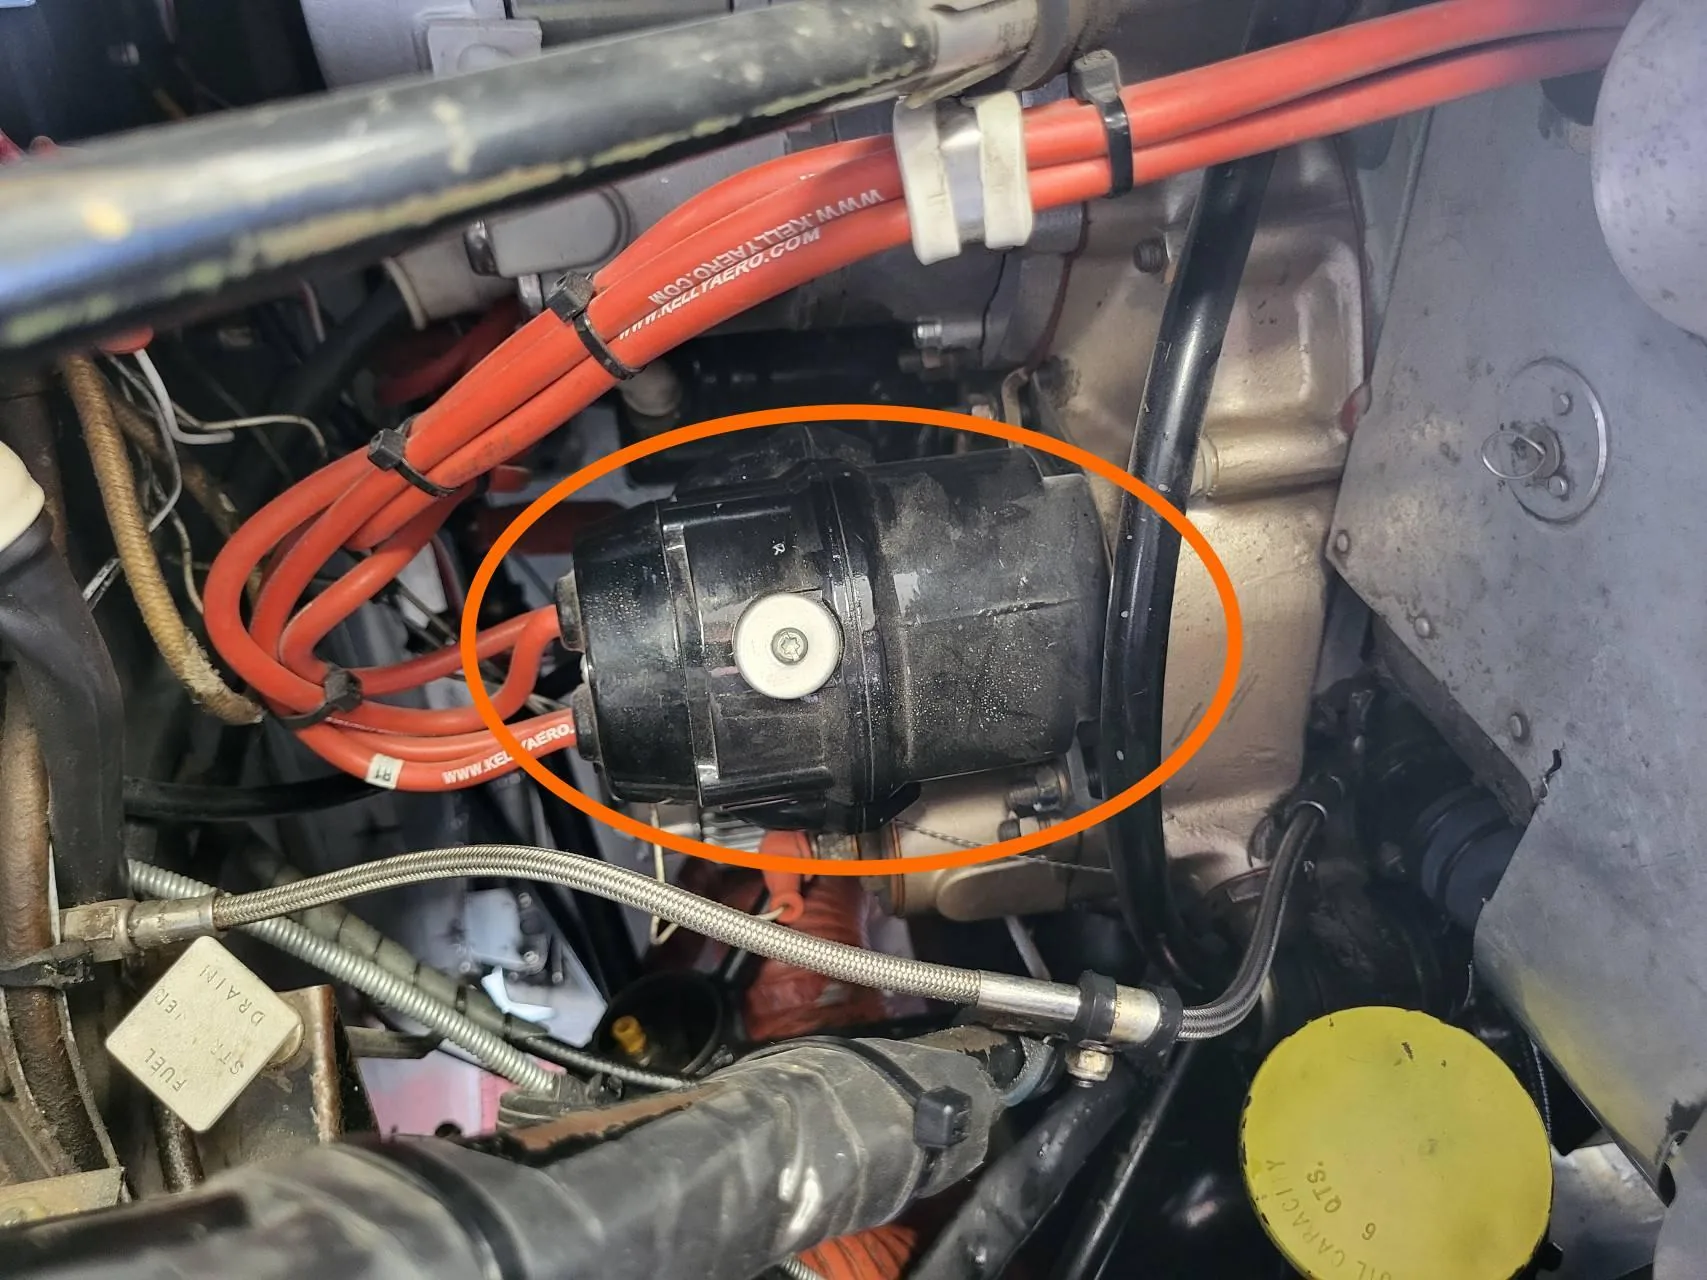
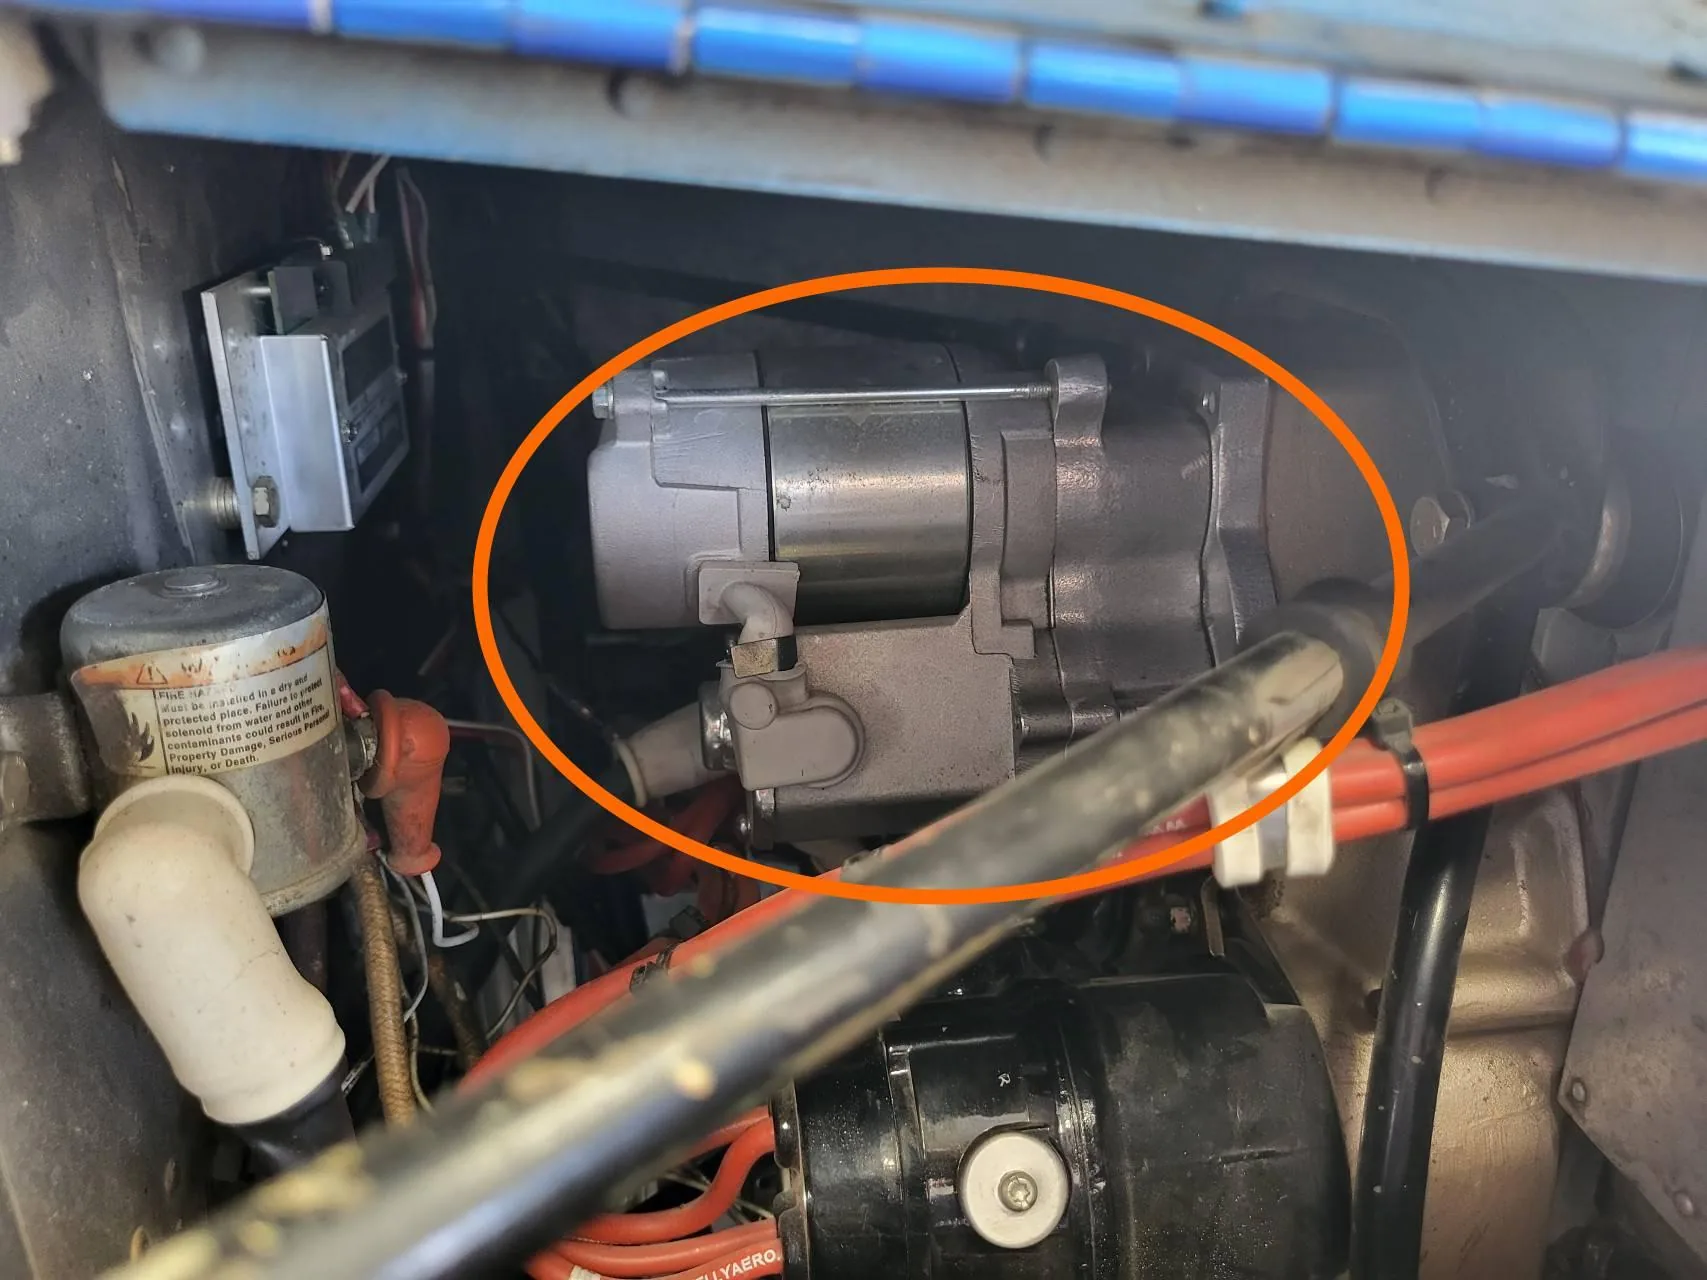
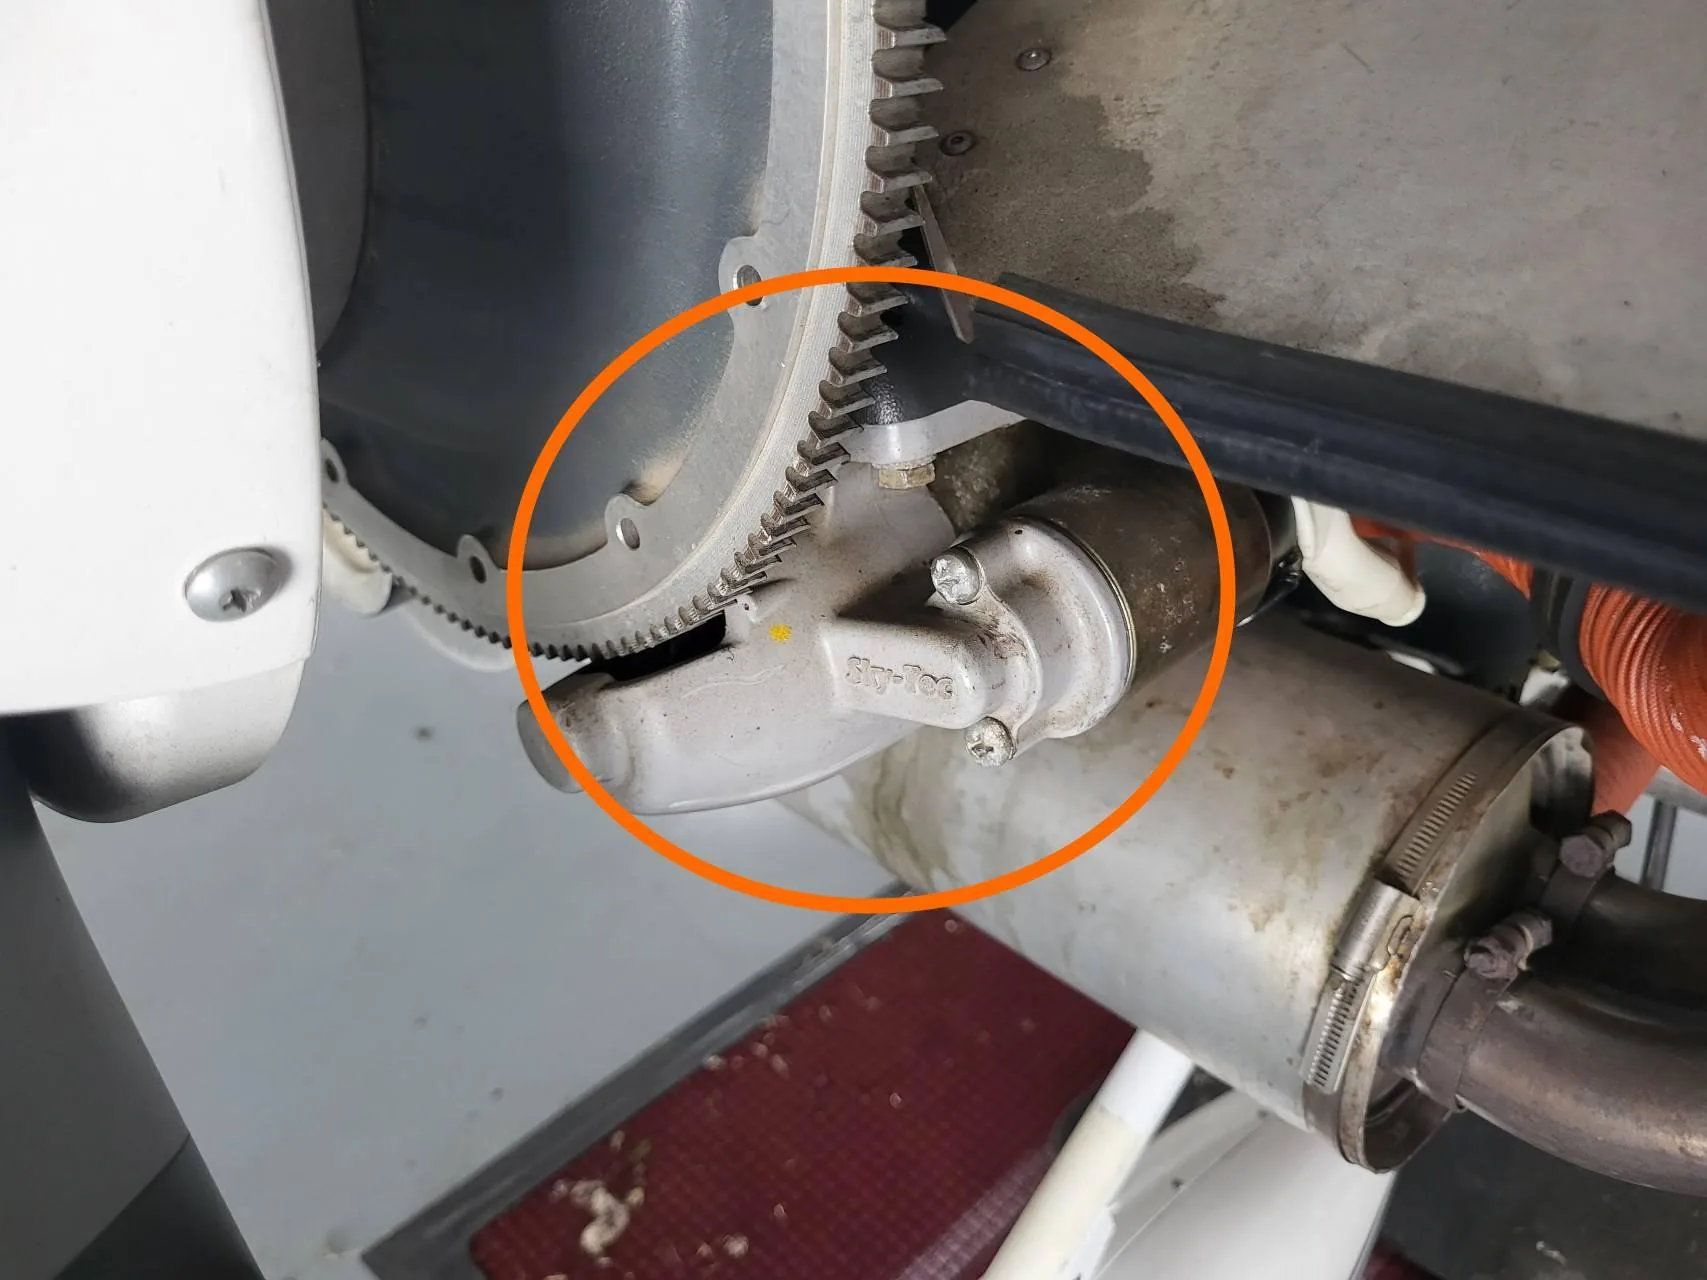
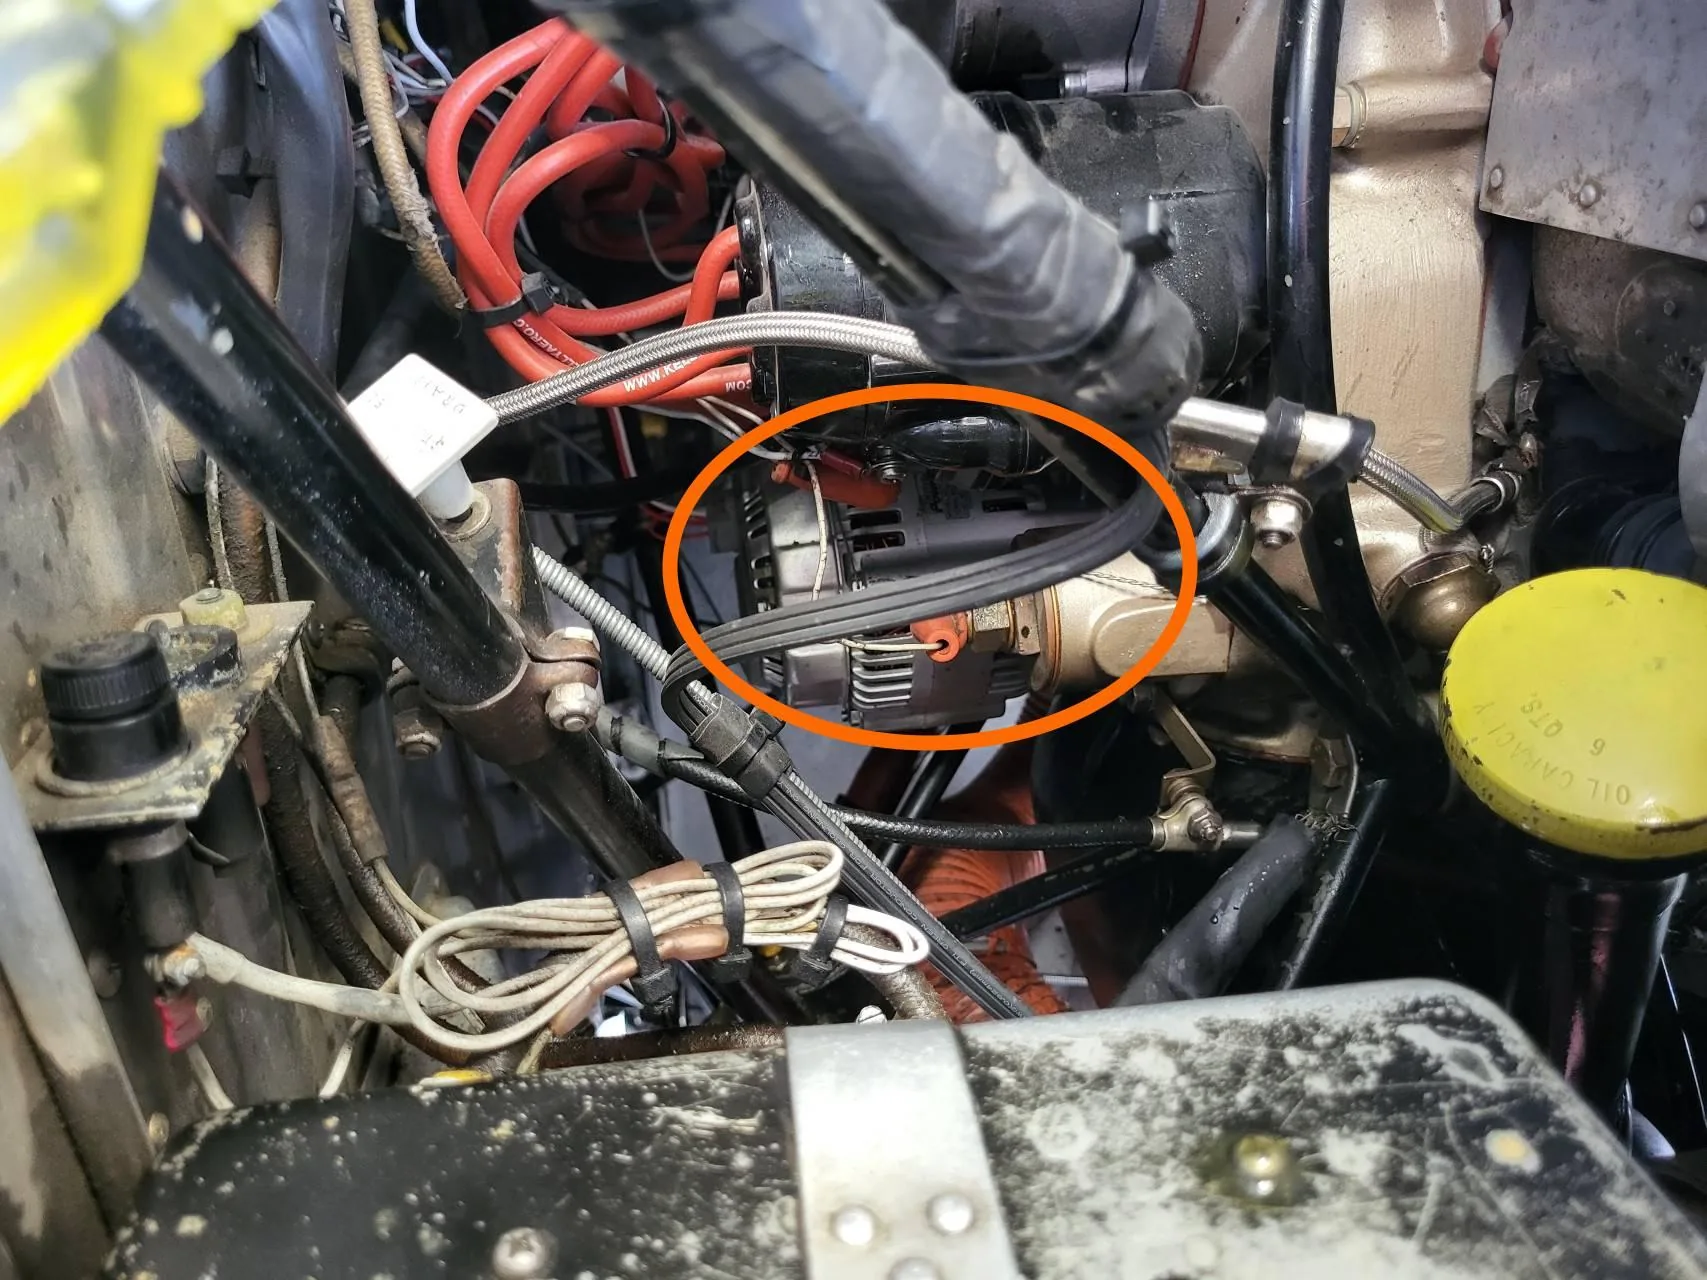
- Starter is a battery-powered motor that turns the engine for starting. Release it as soon as the engine starts.
- Throttle controls power and RPM.
- Mixture controls fuel mixed with incoming air.
- Carburetor heat supplies heated, normally unfiltered air.
- Primer injects fuel into the intake for starting.
- Fuel valve controls flow from the tanks.
- Magnetos provide independent, engine-driven ignition.
- Starter uses battery power to crank the engine.
Mixture Basics
New to airplanes? Rich, lean, and peak
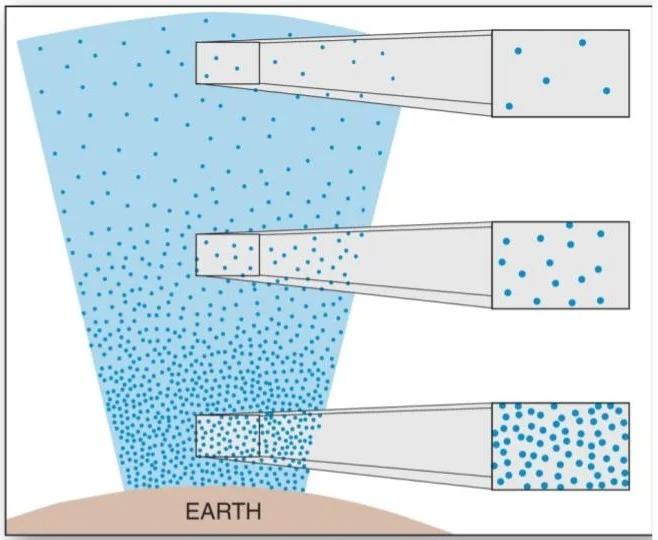
The mixture control changes fuel flow while the throttle controls airflow. As altitude or temperature increases, fewer air molecules enter the engine, so fuel must be reduced to keep the fuel-to-air ratio useful.
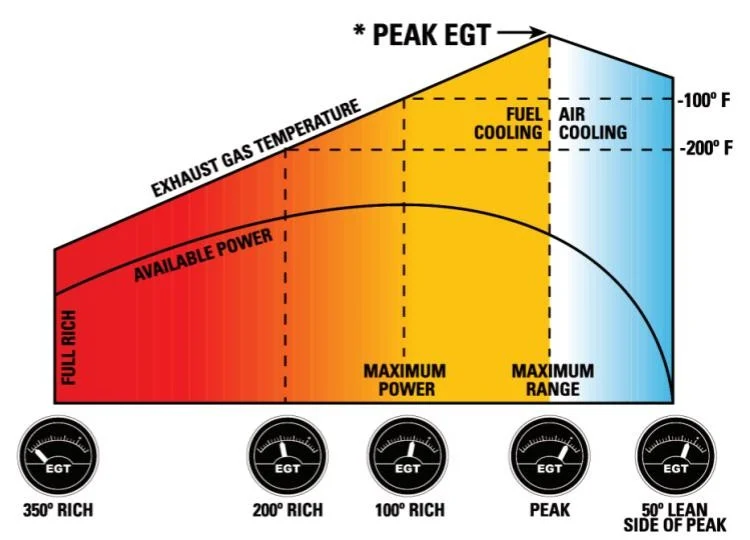
- Rich of peak uses more fuel than the setting that produces peak exhaust-gas temperature and provides a cooling margin.
- Peak is the mixture setting where exhaust-gas temperature reaches its highest point.
- Lean of peak uses less fuel than the peak setting. Use it only at power settings and under procedures specifically permitted by the aircraft or engine manual.
- Density altitude describes how thin the air behaves after pressure, temperature, and humidity are considered.
- Too rich: roughness, reduced power, high fuel burn, and fouled plugs.
- Too lean at high power:excessive cylinder temperature, detonation, pre-ignition, and severe damage.
- Pilot Rise leaning standard: remain rich of peak unless the aircraft or engine manual specifically permits lean-of-peak operation.
- Taxi: Rich
- Takeoff & landing: Full rich unless high density altitude requires leaning
- Climb: Lean above 3,000 or 5,000 feet DA, depending on the aircraft. Rich at low density altitudes.
- Cruise: Lean
- Descent: Lean, progressively enriching as needed
- Cessna 150 exception: the manual permits and calls for lean-of-peak operation at 65% power or less.
Warning: Lean during cruiseCruise at any altitude requires leaning. Published Cessna cruise performance and fuel-burn data assume the mixture is leaned. During climb, lean above 5,000 feet or 3,000 feet density altitude, depending on the aircraft handbook.
Warning: Avoid prolonged high powerOperating at high power (above 75%) for long periods can overheat one or more cylinders and create damaging hot spots.
Warning: Never lean of peak above 65% powerDo not lean the mixture lean of peak while operating above 65% power. This can overheat the engine and result in severe engine damage or engine failure. Lean rich of peak instead.
Leaning Technique
New to airplanes? Leaning without an EGT gauge
Many training aircraft do not show exhaust-gas temperature for each cylinder. With a fixed-pitch propeller, RPM can provide a practical mixture cue at cruise power.
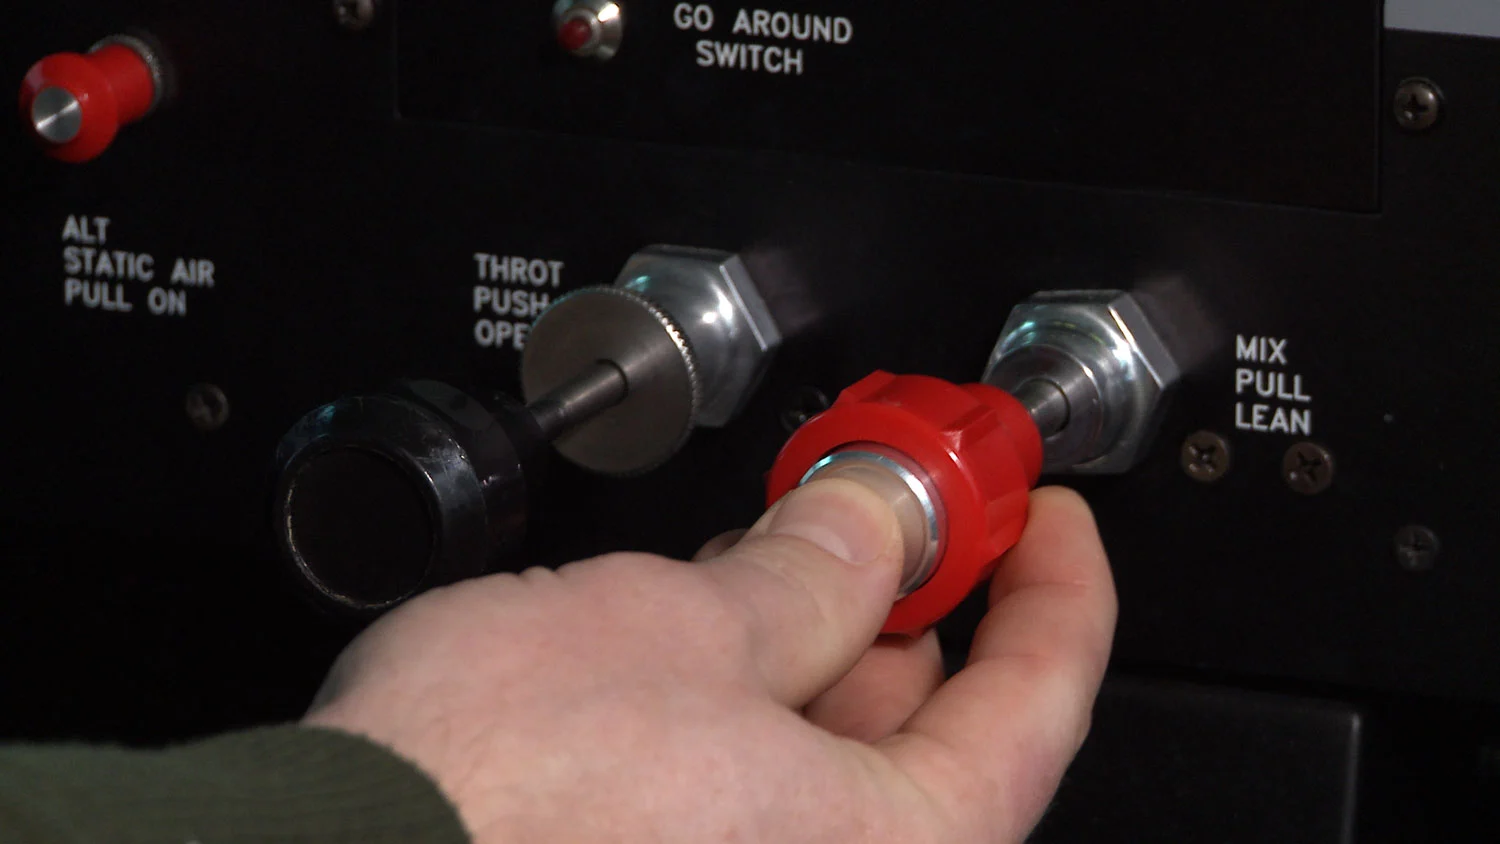
Slowly pulling the mixture reduces fuel. RPM usually rises as an overly rich mixture becomes more efficient, reaches its highest point, then falls or becomes rough after moving too lean. Enriching until smooth—and farther when directed—moves the engine back to the rich side of peak. Make small changes and allow the engine time to respond.
Without exhaust-gas-temperature indications:
- Set planned cruise power.
- Lean until the engine becomes slightly rough.
- Enrich until the engine is smooth.
- With a screw-type mixture control, enrich at least two more full turns for a conservative rich-of-peak margin.
- Use the aircraft manual if it gives a different procedure.
This technique usually leaves the mixture rich of peak.
Caution: Reduce power before leaningReduce power below 75% power before using this leaning technique to prevent severe engine damage.
How mixture control works in a carbureted engine
Carb Heat
New to airplanes? Carburetor ice
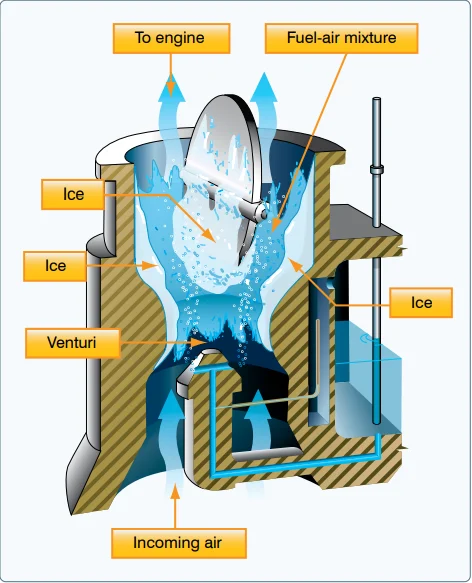
Air speeds up and pressure drops in the carburetor's narrow venturi. Fuel evaporation cools it further, so moisture can freeze inside even when outside air is above freezing.
- Ice narrows the airflow passage, causing gradual RPM loss, reduced power, and roughness.
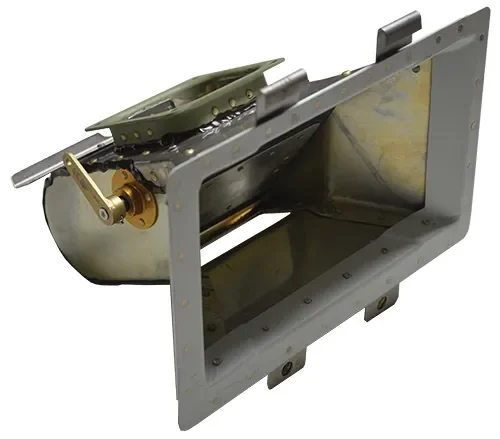
- Full carburetor heat redirects warm, normally unfiltered air from around the exhaust. The warmer, less-dense air initially reduces RPM and makes the mixture richer.
- Melting ice and water can briefly increase roughness. RPM recovery and smoother operation indicate the ice is clearing.
- Partial heat may warm the carburetor into a more favorable icing range without providing enough heat to clear it.
Signs include gradual RPM loss, reduced power, and increasing roughness.
If ice is suspected:
- Apply full carburetor heat.
- Expect more RPM loss or roughness while ice melts.
- Leave full heat on until operation smooths and RPM begins to recover.
Do not use carburetor heat when icing is not suspected unless the checklist or handbook calls for it.
- Icing is very unlikely above 75°F, but temperature alone does not guarantee that icing is impossible.
- For landing, use carburetor heat regardless of temperature or as instructed by the aircraft handbook.
- Heated air is less dense and normally unfiltered, reducing performance and enriching the mixture.
Caution: Avoid partial heat in extreme coldPartial carburetor heat can raise carburetor temperature into the range where icing is most likely.
Note: Power loss—apply carb heat immediately
Carburetor heat comes from the exhaust. If severe icing stops the engine, delay may leave too little exhaust heat to melt the ice.
Magnetos
New to airplanes? Independent ignition
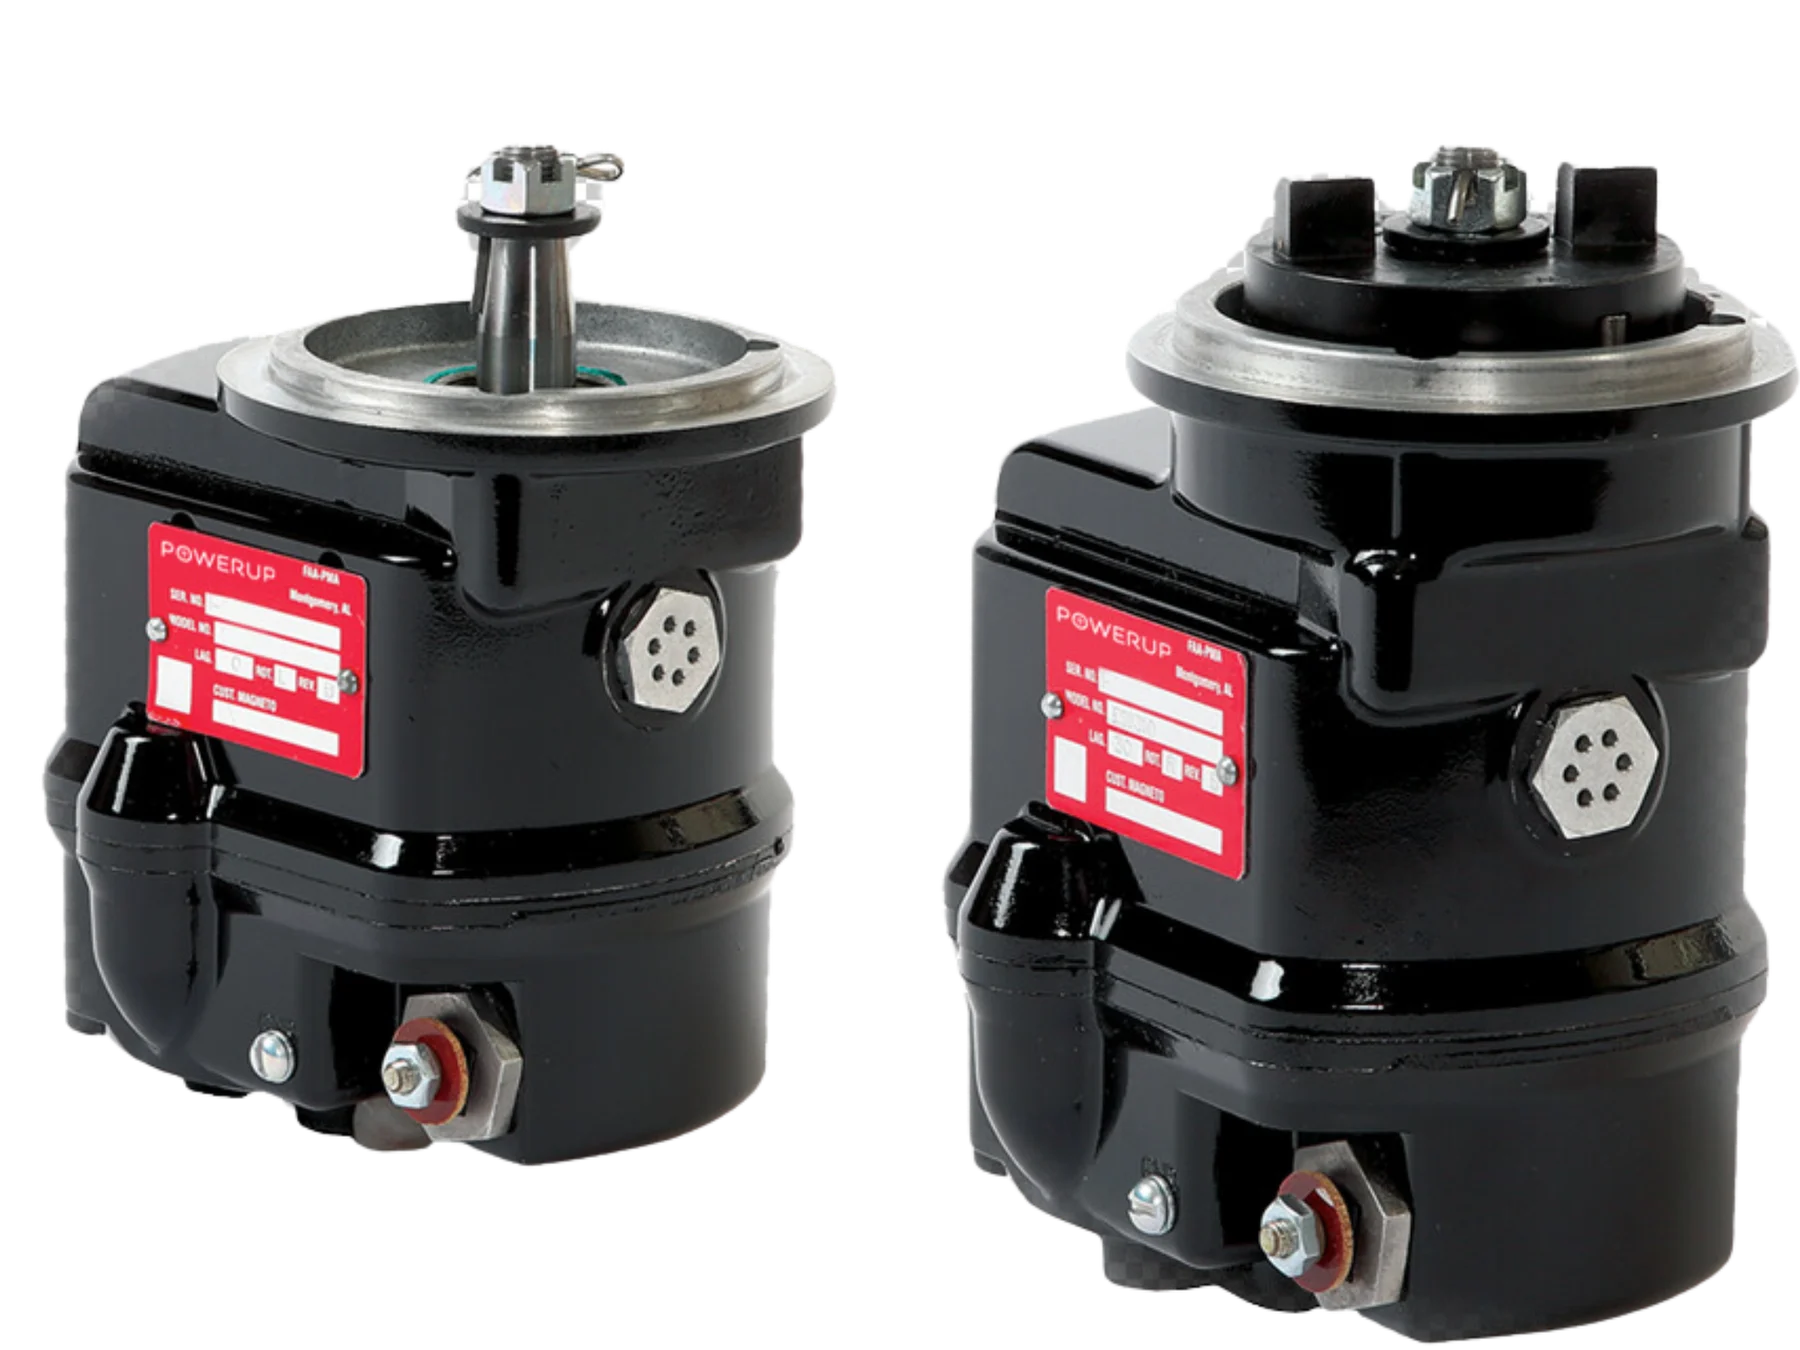
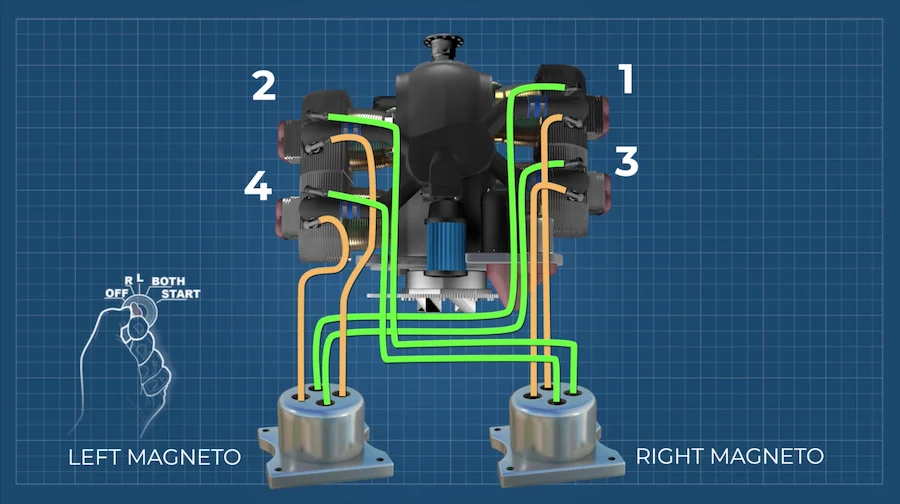
Each magneto is an engine-driven ignition source that works without the battery or alternator. Each cylinder has two spark plugs—one fired by the left magneto and one by the right.
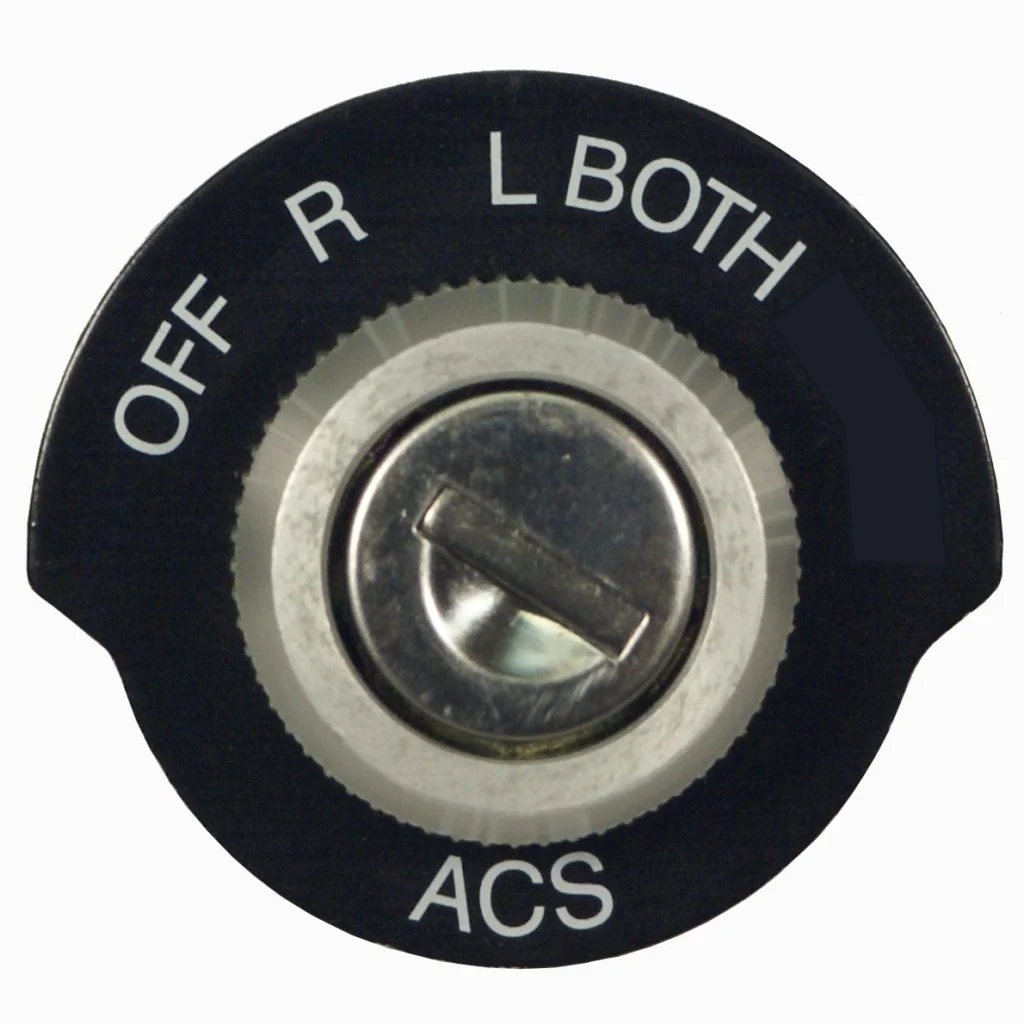
- BOTH is the normal operating position because both spark plugs fire for better combustion and redundancy.
- Selecting LEFT turns off the right magneto; selecting RIGHT turns off the left. A small RPM drop is expected because only one set of plugs is firing.
- During run-up, check LEFT and RIGHT, return to BOTH between checks, and compare RPM drop and smoothness with the aircraft's published limits.
- The ignition switch turns a magneto off by grounding it. A failed grounding wire can leave the propeller capable of starting the engine with the switch OFF.
When checking magnetos, no RPM drop is abnormal. It may indicate incorrect timing or a failed grounding circuit, leaving the engine capable of starting with the switch OFF.
Warning: Severe roughness may be one magnetoAn internal magneto failure can cause incorrect or random ignition timing. Check BOTH, LEFT, and RIGHT. If one position restores smooth operation, select the good magneto and land at the nearest suitable airport as soon as practical. Do not mistake this for a complete engine failure.
A magneto contains gears that keep spark timing synchronized with the engine. If a gear slips or breaks, spark timing can become random and cause extreme roughness that feels like an engine failure. Pilots in the United States repeatedly misidentify this type of failure; some have shut down an engine that could still run on one magneto and made an unnecessary forced landing.
Try BOTH, LEFT, and RIGHT before securing a severely rough engine. If one position restores smooth operation, leave the good magneto selected. The engine may then feel normal, but land at the nearest suitable airport as soon as practical.
Open the magneto video in a new tab
Throttle
New to airplanes? Power and RPM
The throttle opens or closes a valve in the carburetor. Opening it increases airflow, fuel flow, cylinder pressure, power, and RPM. A sudden change creates abrupt mechanical and temperature loads, so power must be added smoothly.
These aircraft use fixed-pitch propellers, so RPM responds to both engine power and propeller load. Airspeed and pitch can change RPM even when the throttle has not moved. Percentage power compares current output with the engine's rated output.
- Idle to full power: 3–5 seconds minimum.
- During a go-around, apply power promptly but smoothly.
- Cruise around 50–75% power; Pilot Rise recommends targeting less than 65%.
- Reduce power when reaching cruise. Avoid exceeding 2,500 RPM and follow the aircraft’s limits or preferred RPM range.
- On every takeoff, verify expected RPM, smooth acceleration, oil pressure, oil temperature, and a working airspeed indication.
Caution: Take at least 3–5 secondsDo not move the throttle from idle to full power faster than 3–5 seconds. Applying power too quickly can damage the engine.
Warning: Do not pump the throttleOnly pump the throttle if the aircraft's starting procedure requires it. The accelerator pump sprays raw fuel into the induction system and can cause flooding or an engine fire.
Warning: Limit prolonged high powerExtended high-power cruise increases temperature and wear. Do not routinely cruise above 75% unless the aircraft or engine manual authorizes it. Never exceed published RPM, oil-temperature, or oil-pressure limits.
Primer
New to airplanes? What the primer does
Pulling the primer fills its small fuel chamber; pushing it sends that fuel directly into the intake to help a cold engine start. The checklist specifies how many strokes are appropriate for the temperature. Too much fuel can flood the engine or collect in the intake, creating a starting-fire hazard. The primer must be pushed fully in and locked so vibration cannot let more fuel enter.
Use only the amount required by the checklist and temperature.
Caution: Push in and lock the primerAn unlocked primer can keep feeding fuel, causing flooding, roughness, power loss, or engine failure.
Fuel Valve
New to airplanes? Fuel selection
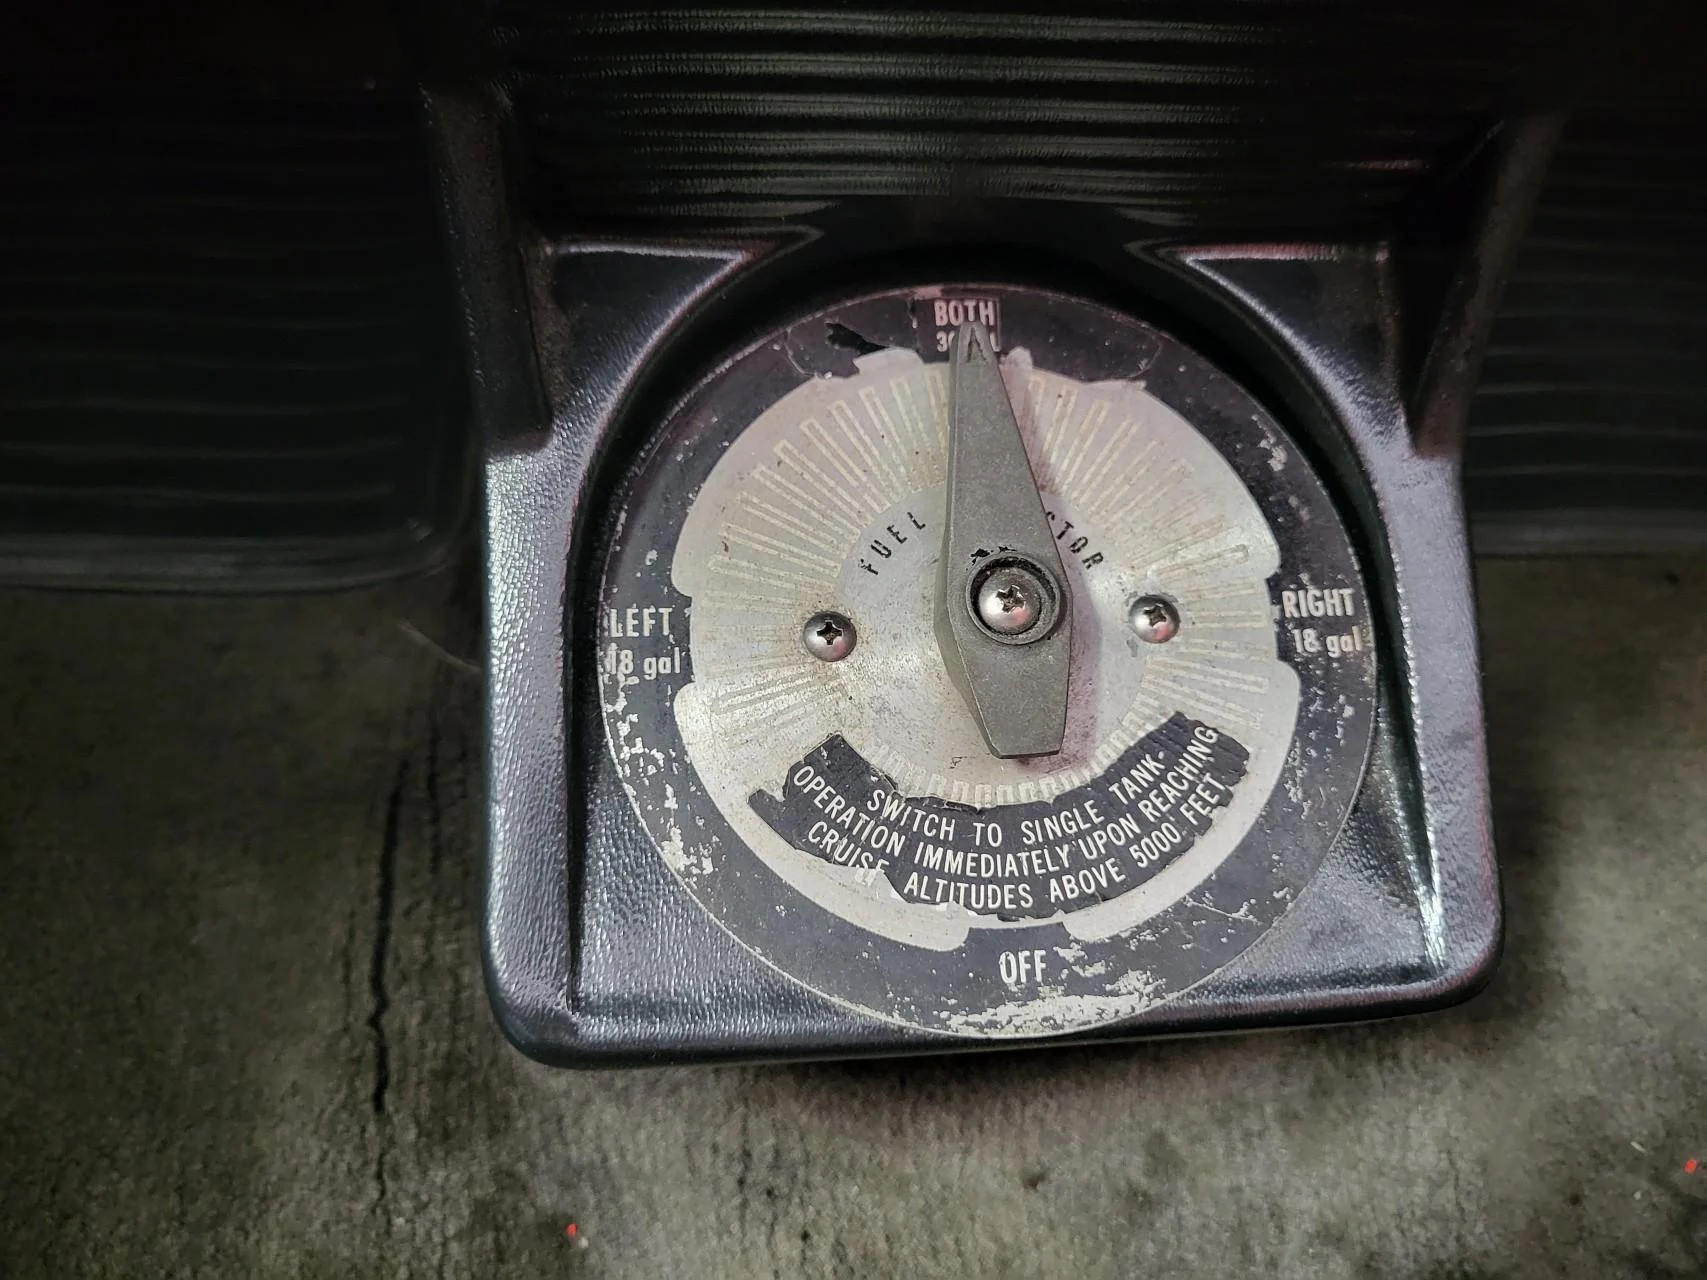
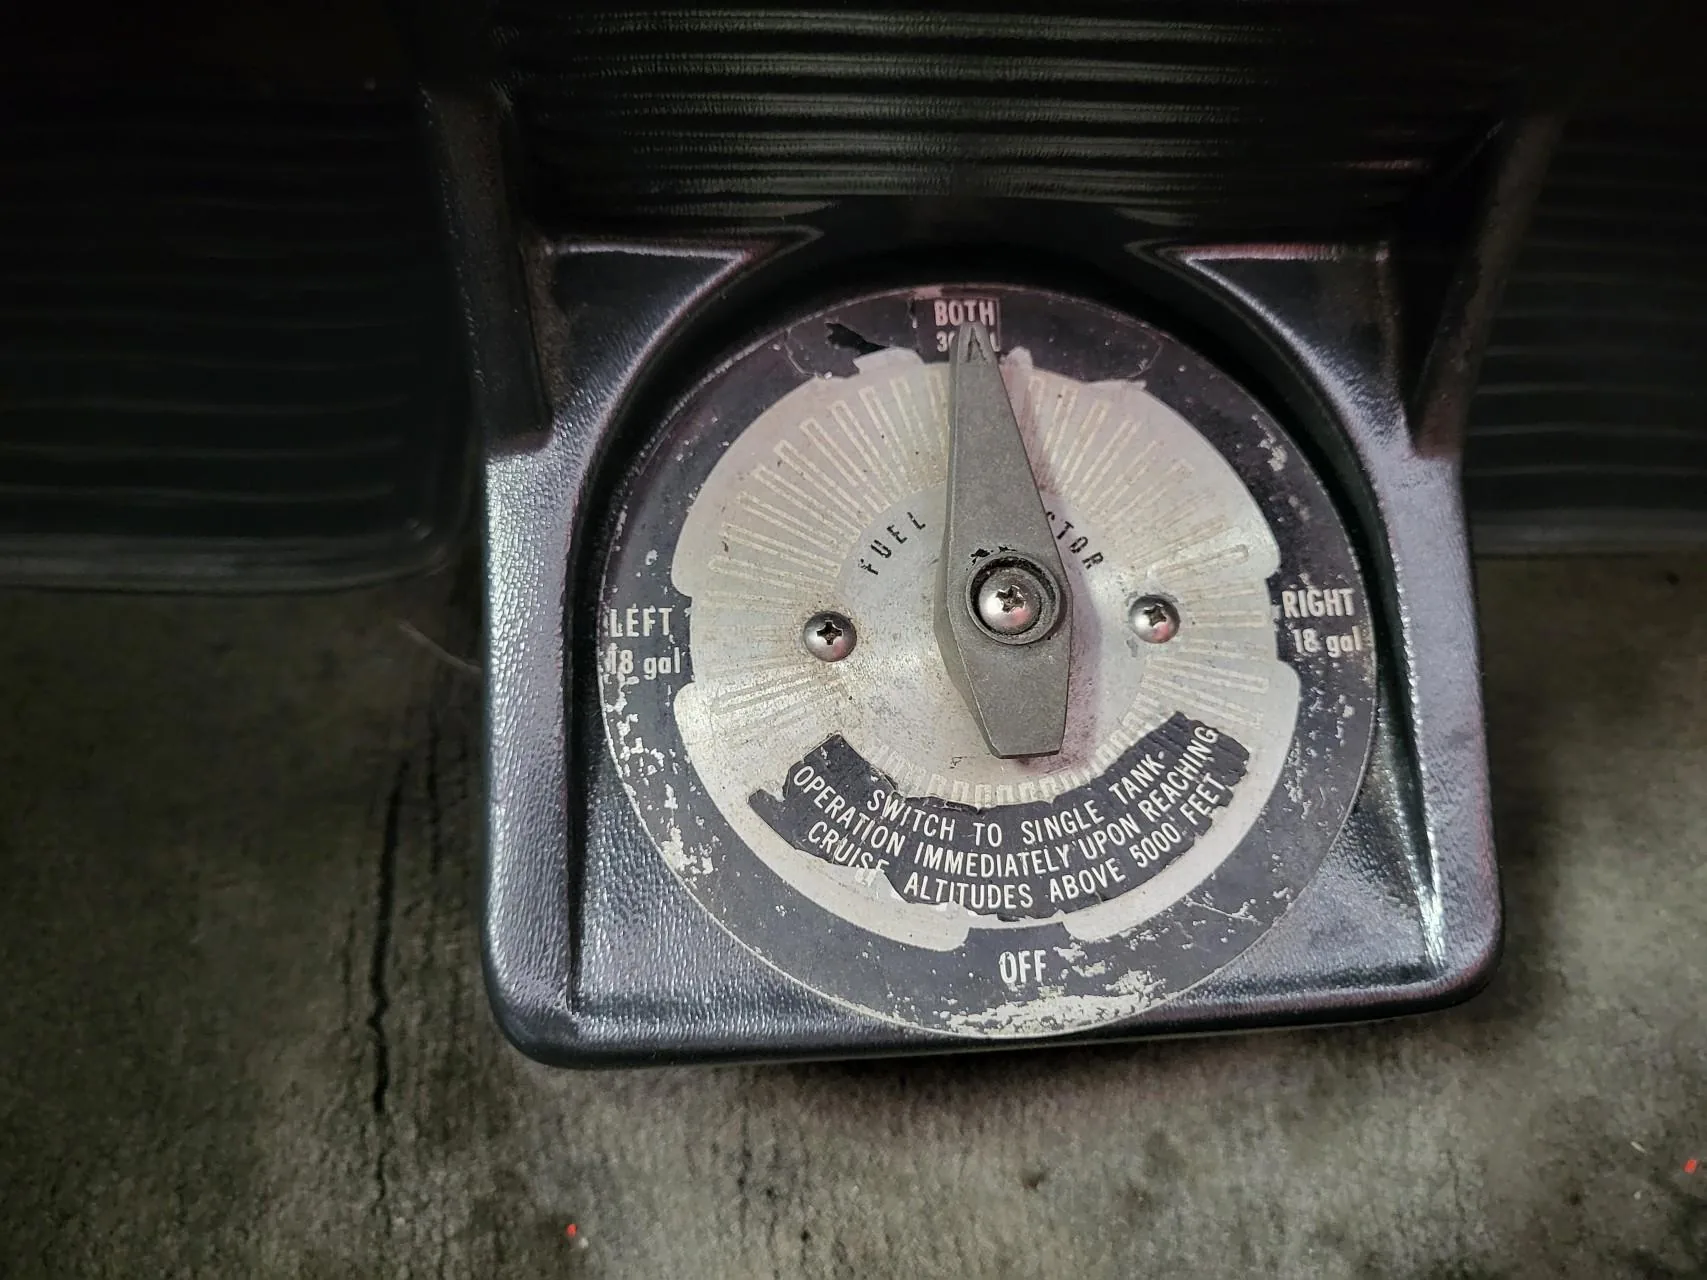
Fuel normally flows from the wing tanks toward the engine. The valve can stop that flow and, in a Cessna 172, choose which tank or tanks supply it. BOTH draws from both tanks. A wrong or partly selected position can restrict fuel, allowing the engine to lose power or stop after fuel already in the lines is used.
Confirm the correct position before start, takeoff, landing, and any restart.
- Cessna 172: use BOTH unless a procedure requires another position; leave BOTH selected after securing.
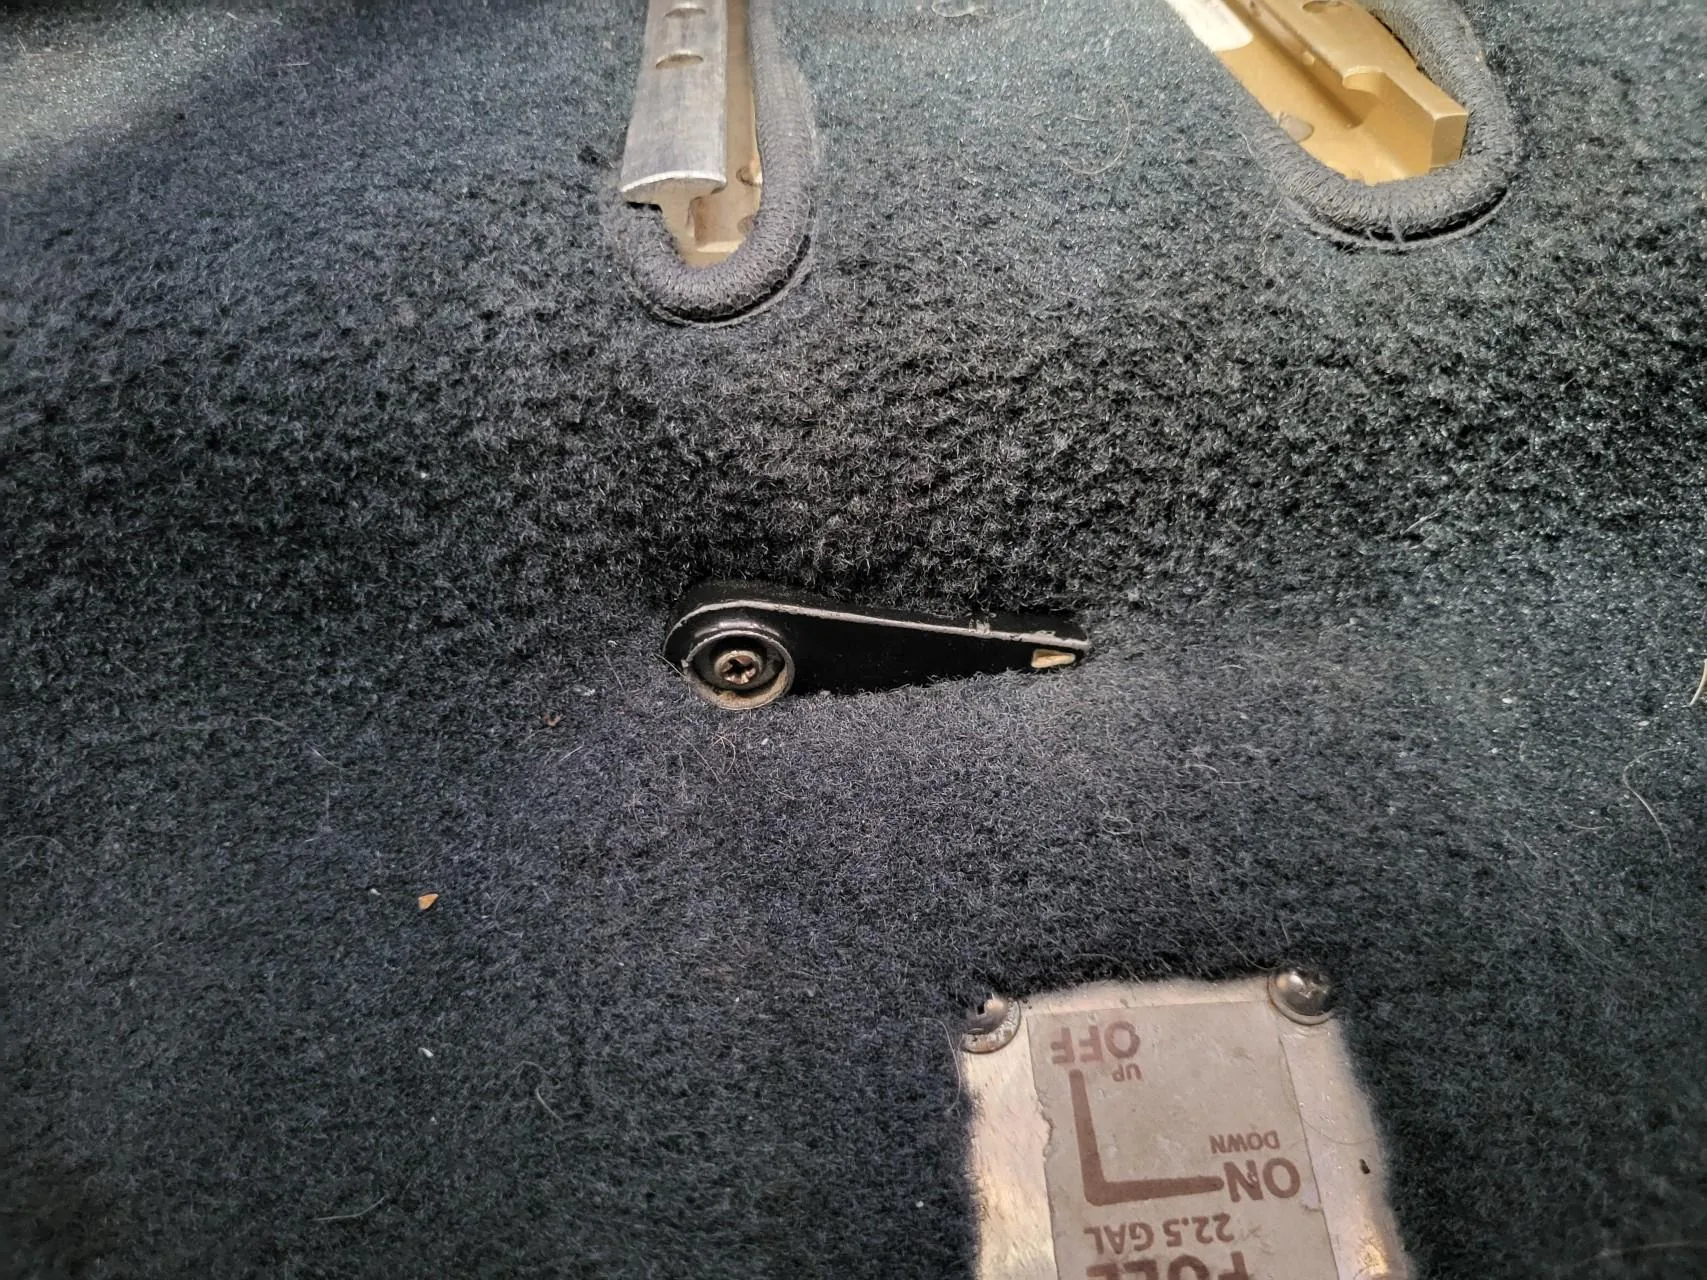
- Cessna 150: keep the valve ON for normal operation unless a procedure requires OFF.
Engine Start
New to airplanes? Flooded engines
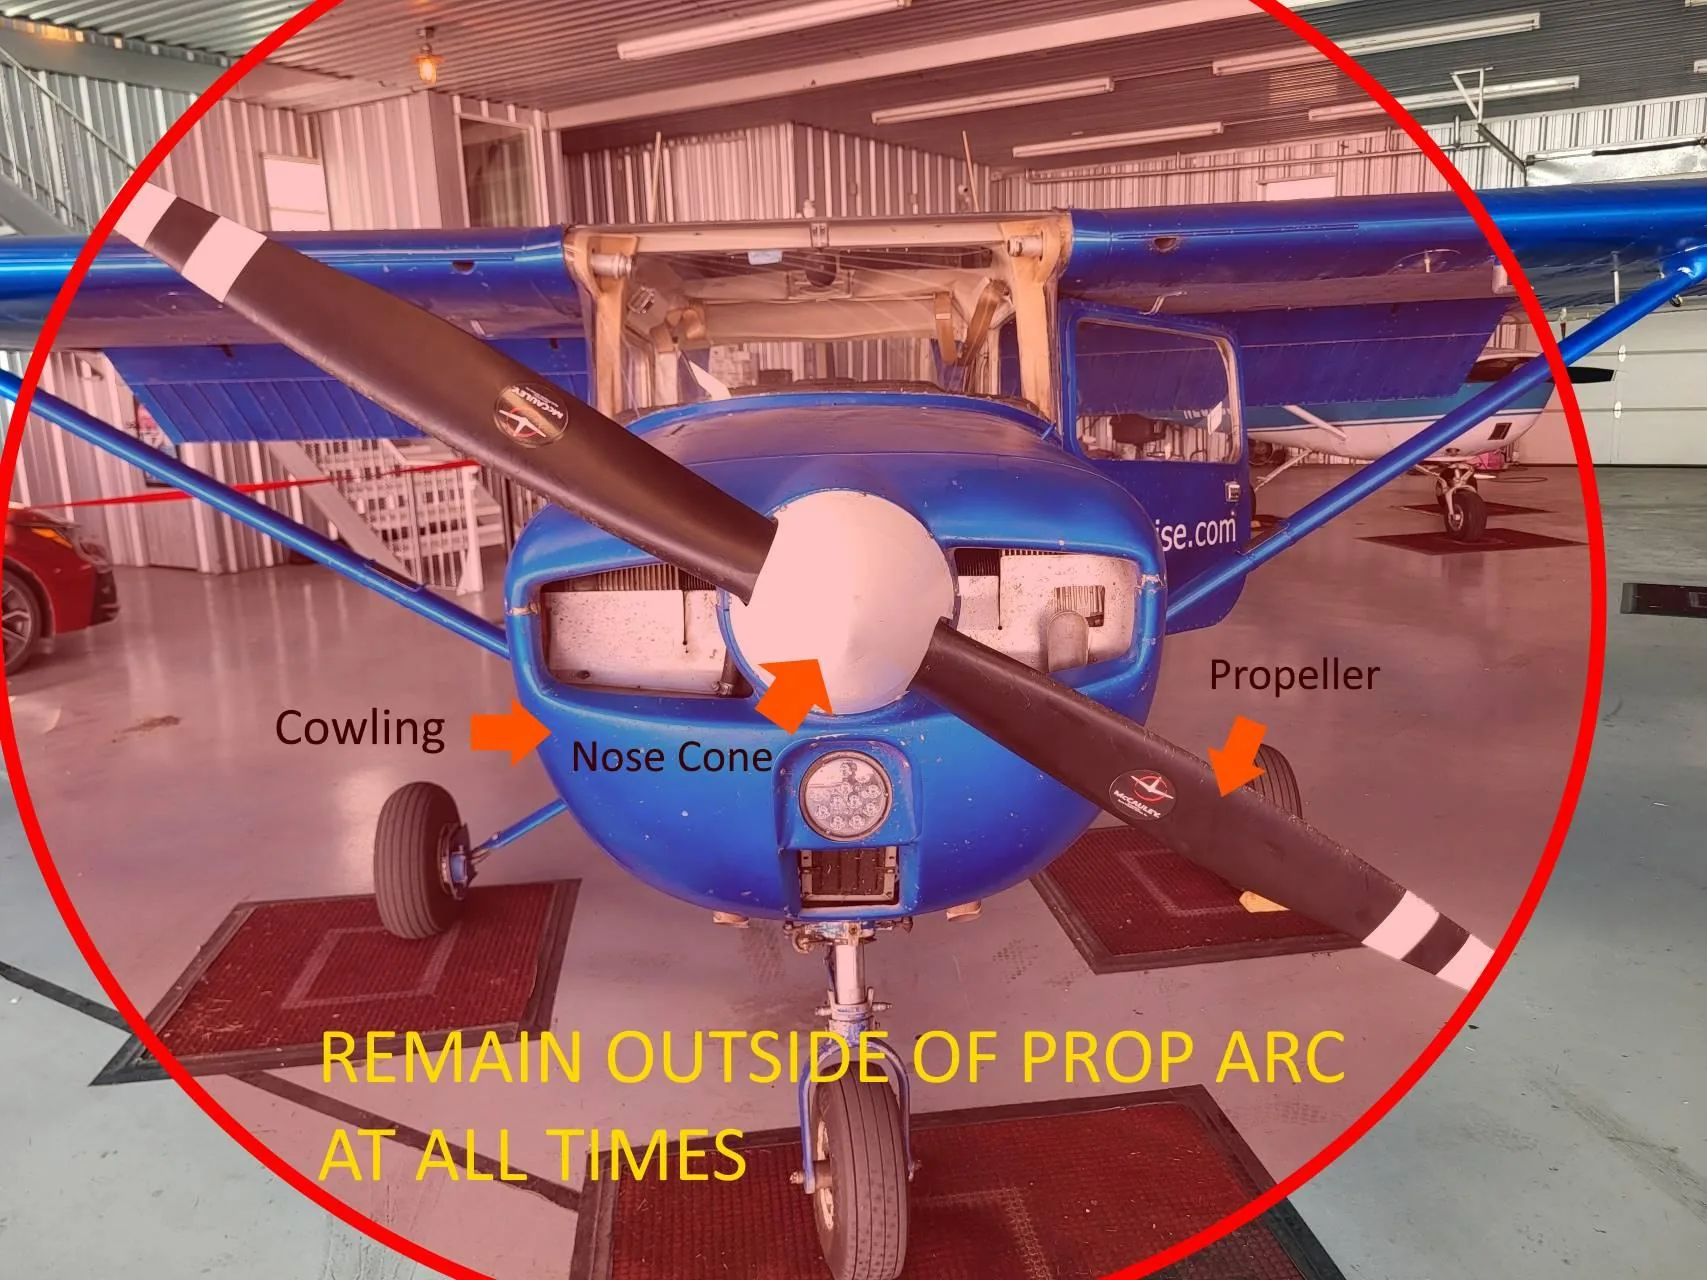
The starter uses the battery to rotate the engine and propeller. Anyone near the propeller is in immediate danger once the starter engages, which is why the area must be checked and “CLEAR PROP” announced.
A flooded engine has too much fuel and too little air to ignite normally. A flooded start initially uses full throttle for maximum air and idle cutoff to stop additional fuel. Controls must be repositioned promptly as the engine fires. Oil pressure after start confirms that oil is circulating through the engine.
Before entering: confirm the propeller area is clear and the tow bar is removed.
Before cranking: check the propeller area again and loudly announce “CLEAR PROP”.
Use the aircraft checklist for mixture, primer, throttle, carburetor heat, and ignition.
Caution: Confirm oil pressure immediatelyMonitor oil temperature after start. If oil pressure does not rise and stabilize within the handbook's allowed time, shut down.
Flooded start: Follow the aircraft’s specific checklist. A general sequence is:
- Mixture: IDLE CUTOFF.
- Throttle: FULL OPEN.
- Starter: CRANK.
- As the engine fires: move mixture toward RICH and reduce throttle promptly.
If fire occurs, continue cranking to pull flames into the engine. Secure and evacuate if the engine does not start.
Starter Limitations
New to airplanes? Why starters need cooling time
The starter is a high-current electric motor designed to run only briefly. Each starting attempt builds heat in its motor, wiring, and drive. Cooling intervals are part of its duty cycle; repeated cranking without them can permanently damage the starter.
Follow the aircraft or installed starter’s limitations whenever they are more restrictive.
Pilot Rise standard:
- Cranking: no more than 10 seconds.
- Between attempts: wait at least 60 seconds.
- Attempt limit: no more than 3.
- After 3 unsuccessful attempts: troubleshoot and let the starter cool for at least 15 minutes before trying again.
Excessive or repeated cranking can overheat and permanently damage the starter.
Caution: Observe starter limitsI will not crank the starter for more than 10 seconds, will wait at least 60 seconds between attempts, and will stop after 3 unsuccessful attempts.
Fouled Spark Plugs
New to airplanes? Spark-plug fouling
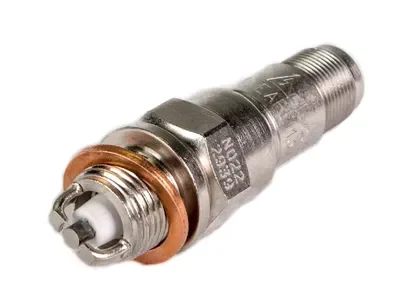
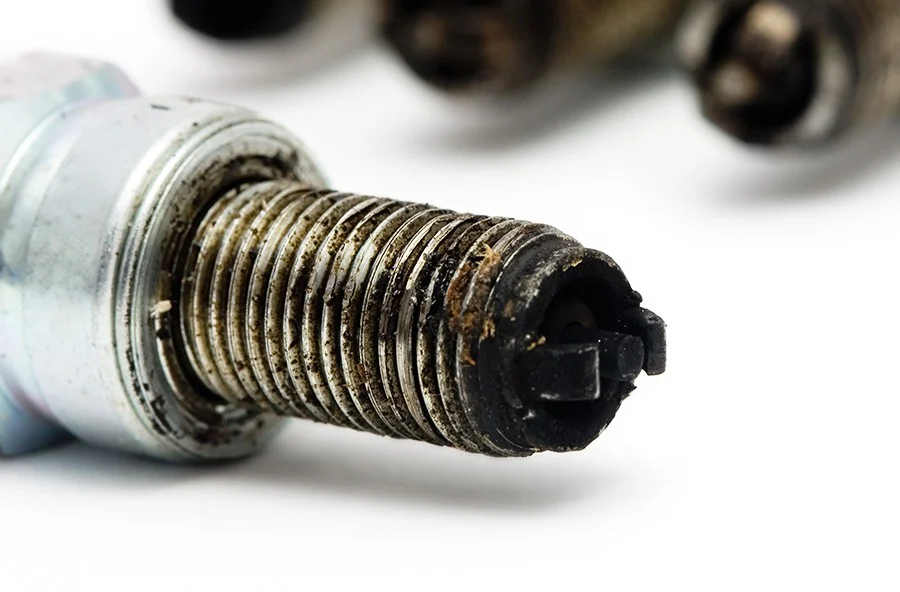
Each cylinder has two spark plugs, one for each magneto. Lead, oil, or carbon deposits can coat a plug and weaken or short its spark. Excessively rich mixture and long low-power ground operation make deposits more likely. Fouling on one set of plugs often appears as a larger RPM drop or roughness on one magneto during run-up.
Signs: roughness, excessive magneto RPM drop, or one magneto much rougher than the other.
General cleaning procedure—use the aircraft procedure if different:
- Face into the wind in a suitable run-up area.
- Set run-up power and lean near the point of sputtering.
- Increase to about 2,500 RPM for no more than 10 seconds.
- Return to run-up power, reset mixture, and repeat the magneto check.
You may repeat once while monitoring temperature. Avoid prolonged high-power ground operation. Do not take off with unexplained roughness or an unacceptable magneto check.
If two attempts fail, you can run the engine at idle at a lean mixture and waiting for the engine to cool down. Or shutdown then try again in 15 minutes.
Taxi & Run-Ups
New to airplanes? Ground cooling and prop blast
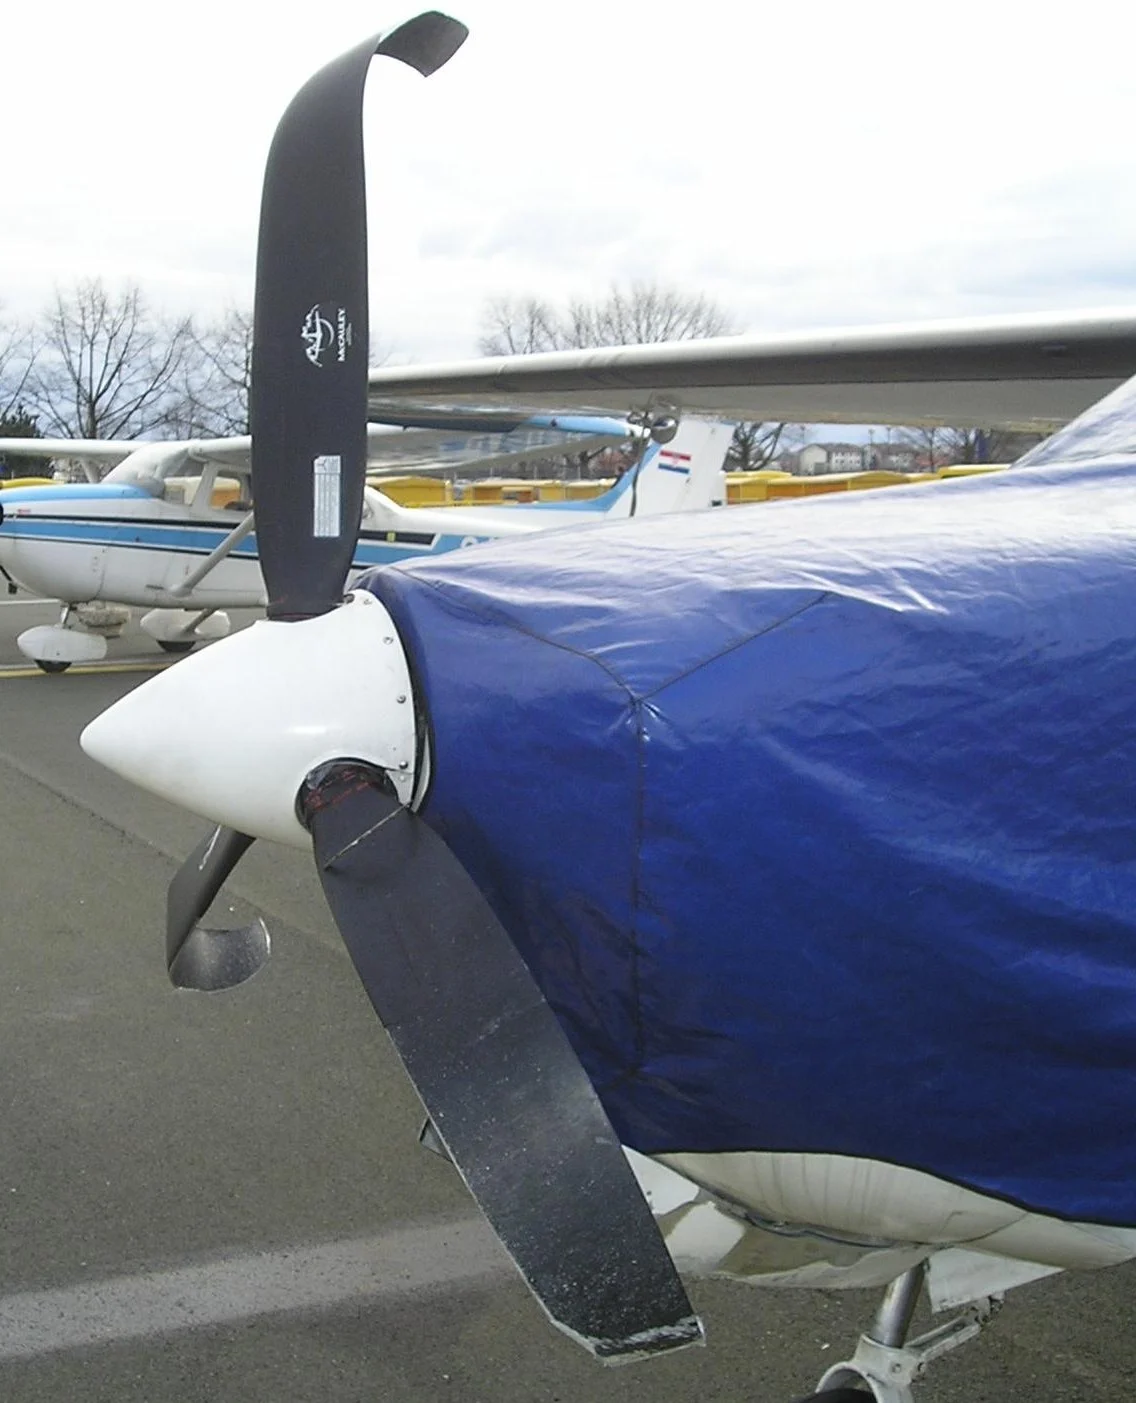
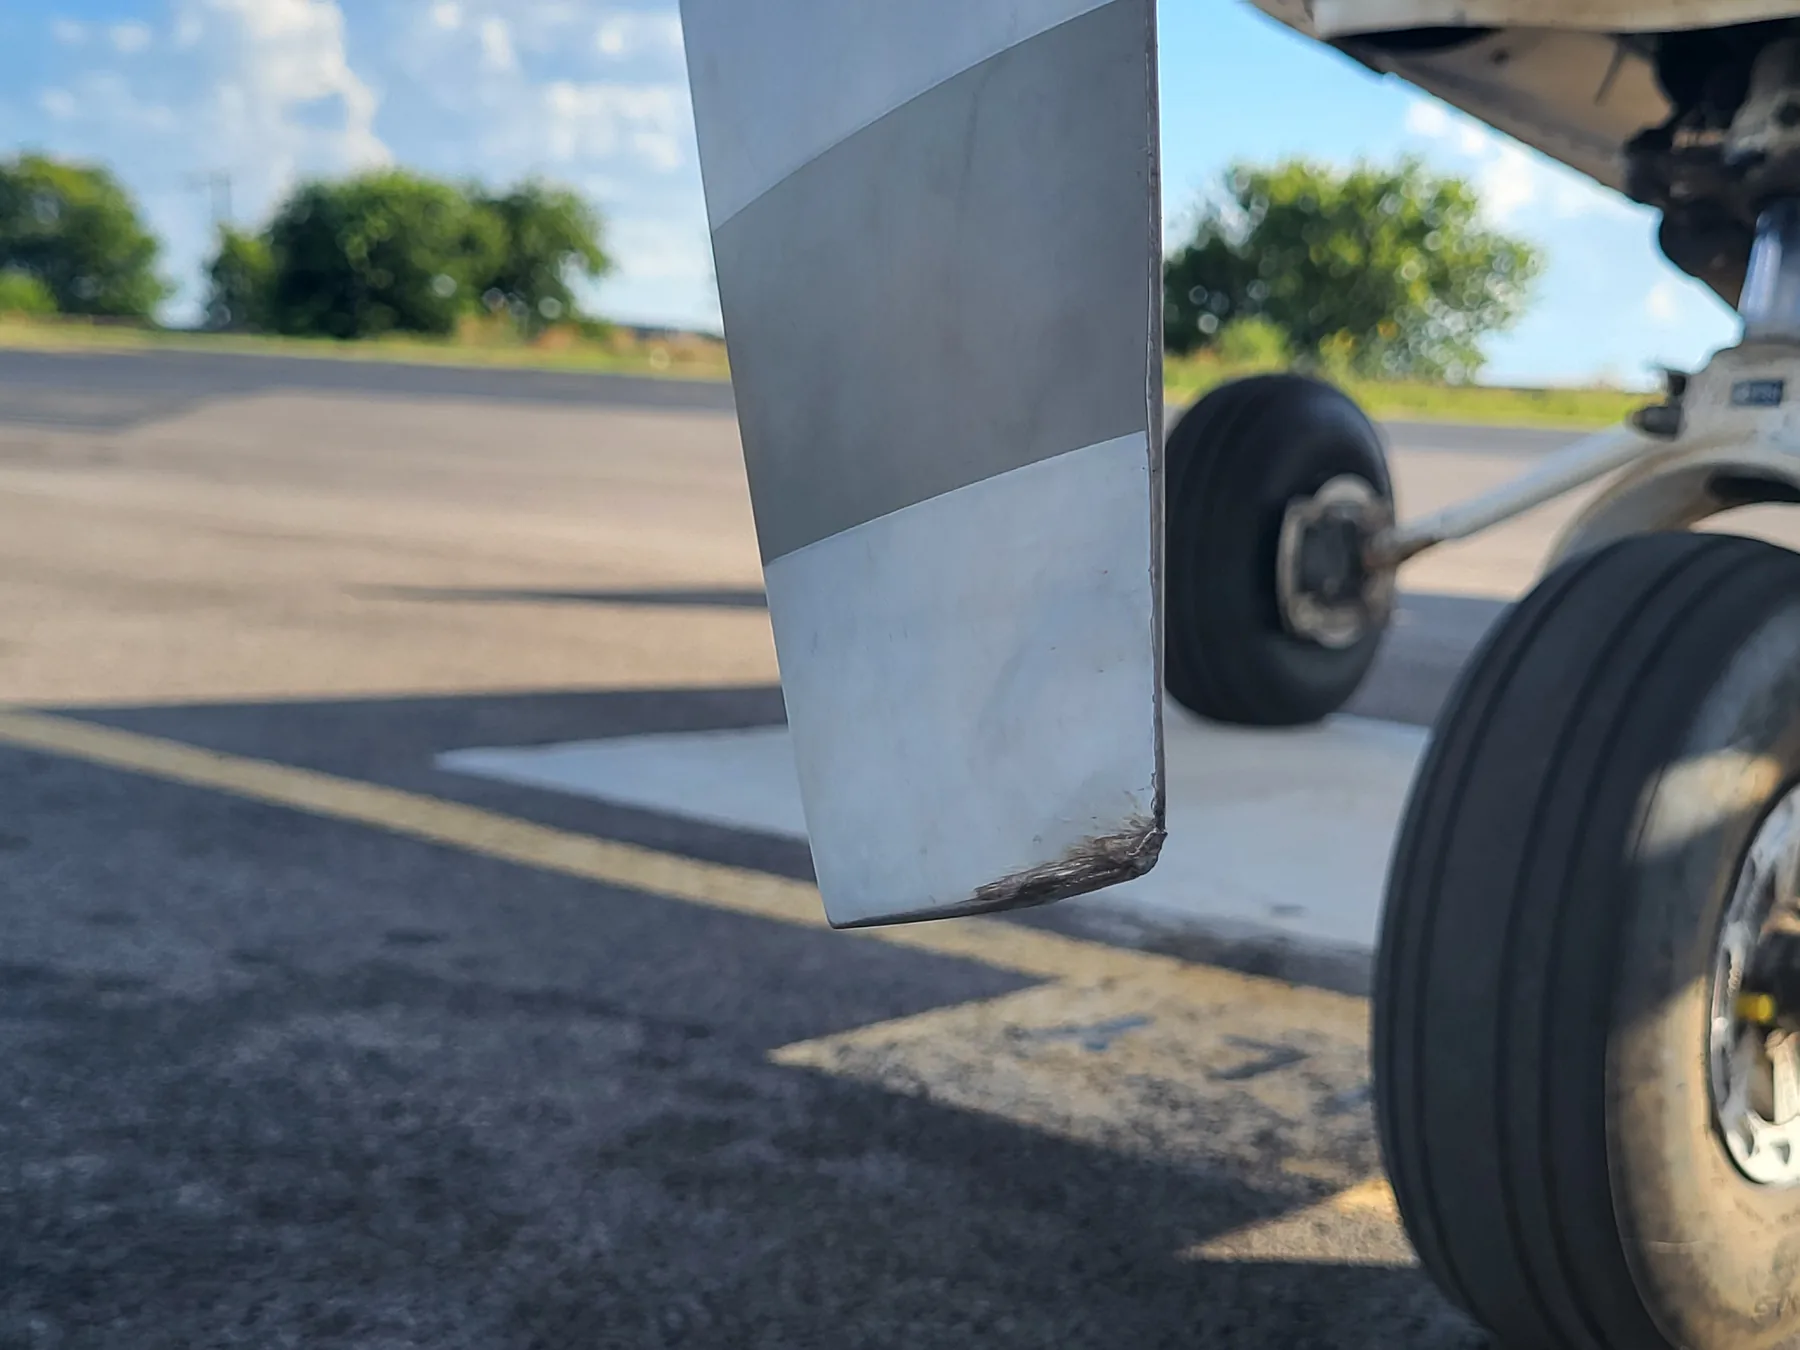
Cooling fins on the cylinders transfer engine heat to air moving through the cowling. Taxi and run-up provide much less airflow than flight, so facing into the wind improves cooling. High propeller RPM also creates a powerful blast behind the aircraft and can pull loose debris forward into the propeller. This debris can injure people, damage property, or nick a blade and cause a prop strike.
Caution: Limit ground operationDo not taxi or operate on the ground for more than 10 minutes without positioning into the wind when practical.
Warning: Face into the wind for run-upA strong tailwind can substantially reduce engine cooling and quickly cause overheating.
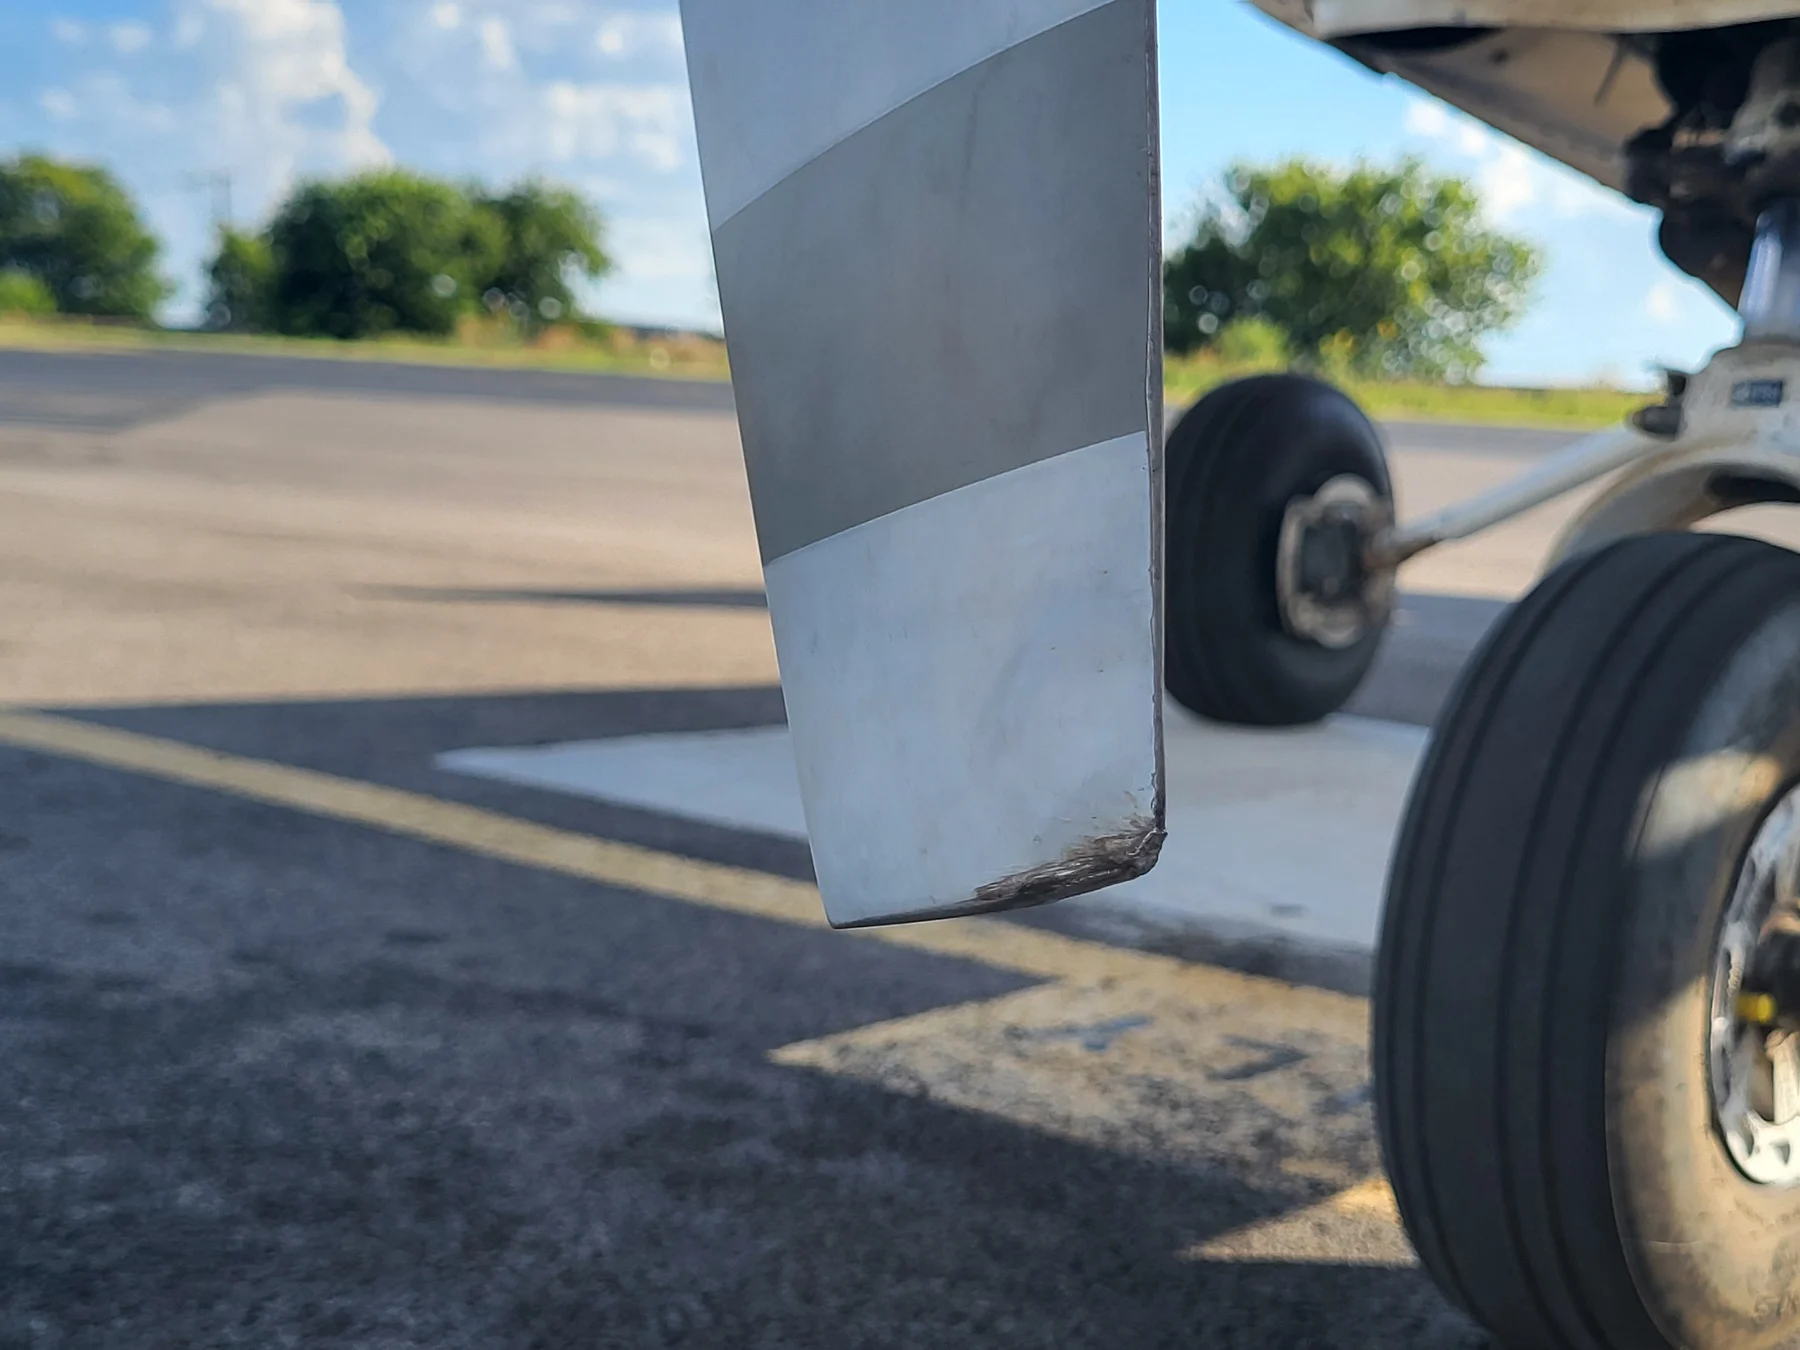
Warning: Clear the area behindBefore adding power, ensure no person, aircraft, vehicle, or loose object is behind you. Avoid high power over loose gravel, dirt, or damaged pavement. Propeller blast can throw debris at people or property, and debris pulled into the propeller can cause a prop strike.
Cold Weather
New to airplanes? Cold oil and preheat
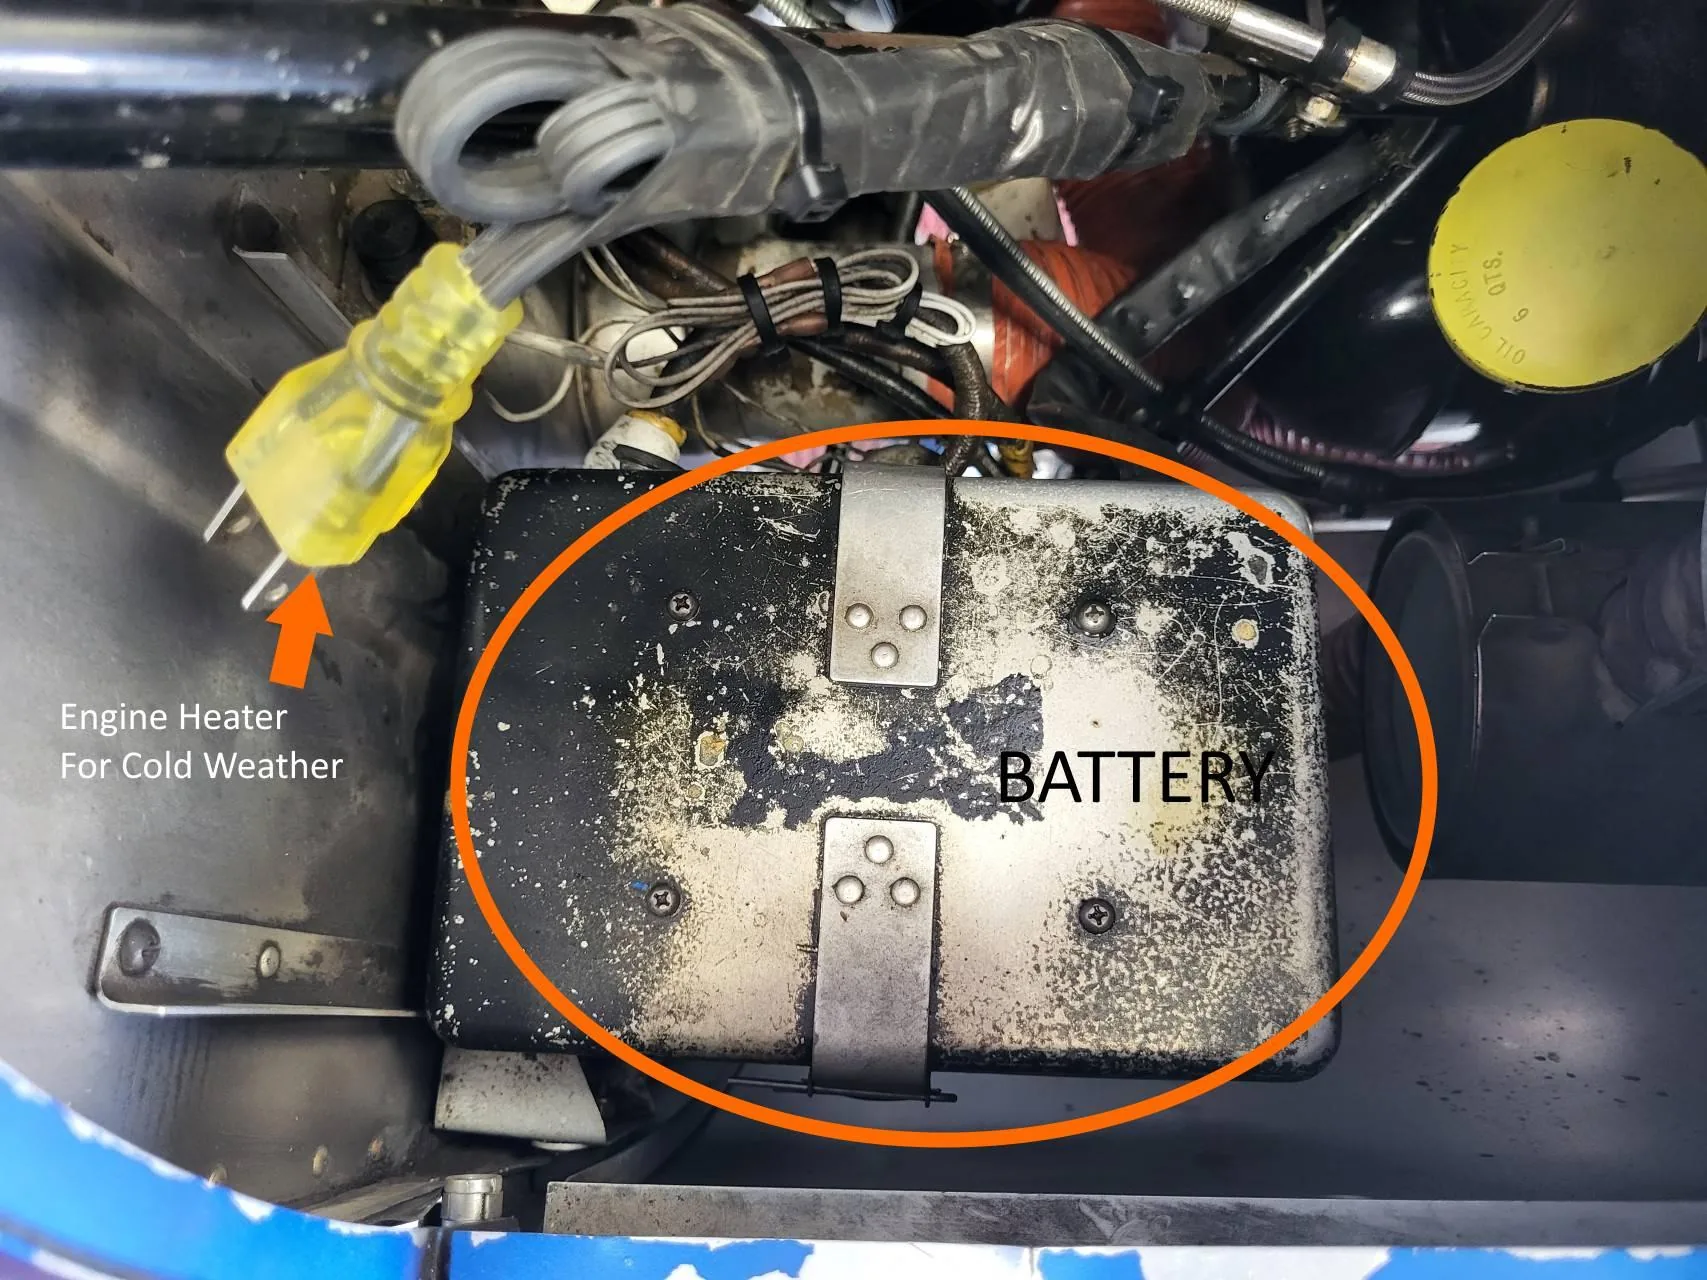
Cold oil is thick, moves slowly through small passages, and may not protect engine parts as well until warm. An engine preheater warms the engine and oil before start, improving circulation and reducing wear. Oil pressure may appear normal before oil temperature is high enough for increased power, so both indications matter.
- Preheat is recommended; most Pilot Rise aircraft are equipped with preheaters.
- Keep the engine at idle below 1,000 RPM until it warms.
- Without numeric oil temperature: warm at least 5 minutes and confirm the needle moves.
- With numeric oil temperature: reach at least 100°F or the manual’s higher minimum.
- Before takeoff, confirm smooth acceleration and normal oil pressure.
- Avoid partial carburetor heat in very cold conditions.
Detonation & Pre-Ignition
New to airplanes? Two abnormal combustion events
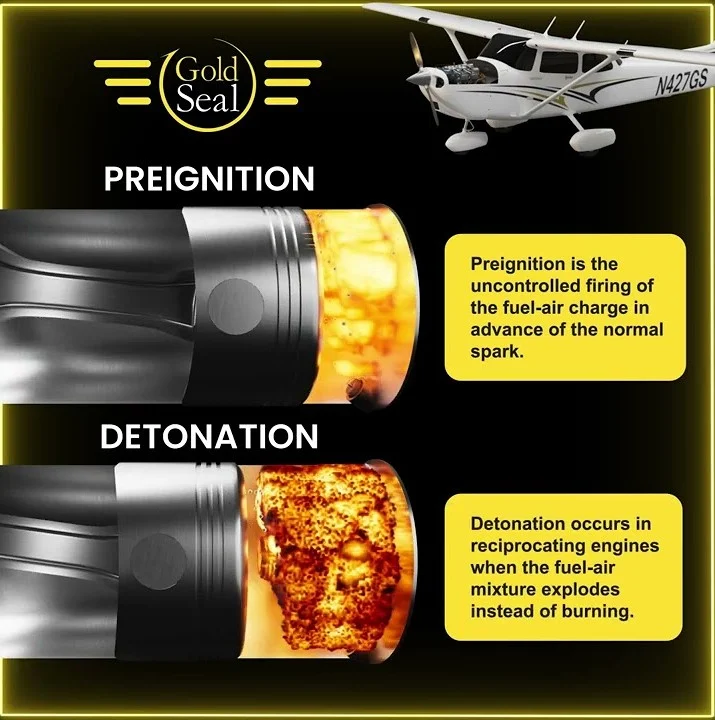
Normal combustion begins at the spark plugs and burns smoothly across the cylinder. Detonation occurs after the spark when remaining fuel-air mixture explodes instead of burning smoothly, creating sharp pressure and heat. Pre-ignition begins before the spark because a glowing deposit or overheated part ignites the mixture. Either can damage a cylinder quickly, and detonation can create the hot spot that leads to pre-ignition.
- Detonation causes: lean mixture at high power, excess heat, incorrect fuel, or incorrect timing.
- Pre-ignition causes: glowing deposit, damaged plug, overheated valve, or another hot spot.
- Signs: power loss, roughness, rapidly rising cylinder-head or oil temperature, abnormal sound, or vibration.
If suspected:
- Enrich the mixture.
- Reduce power.
- Increase cooling airflow when practical.
- Land as soon as practical if it continues.
Pre-ignition can rapidly destroy a piston, valve, or cylinder.